Monday, March 31, 2014

Crispy Coconut Chicken Strips with Creamy Honey Mustard Dipping Sauce


Ingredients:

  • 1 package boneless, skinless chicken breast ( each breast sliced lengthwise into strips, then strips sliced in half length wise)
  • 1/2 cup of flour
  • 1 tsp. salt
  • 1/2 tsp. black pepper
  • 2 cups sweetened shredded coconut
  • 2 eggs, beaten
  • Oil for frying
  • Creamy Honey Mustard Dipping Sauce (recipe below)

Directions:

Place oil in a frying pan or deep fryer.  Heat oil to 375 degrees.

Place chicken strips in a bowl and sprinkle with salt and pepper.  Set aside.

Set up your "coating" station by placing a bowl with the beaten eggs next to the plate with flour, and that plate next to a plate that contains the coconut.  

Place strips in egg mixture and turn to fully cover.  Then place the strips into your flour, turning to make sure all sides are coated.  Finally, place strips into the coconut and turn to evenly coat on all sides, pressing coconut into chicken.  Place on a plate until you have "breaded" all of the strips.

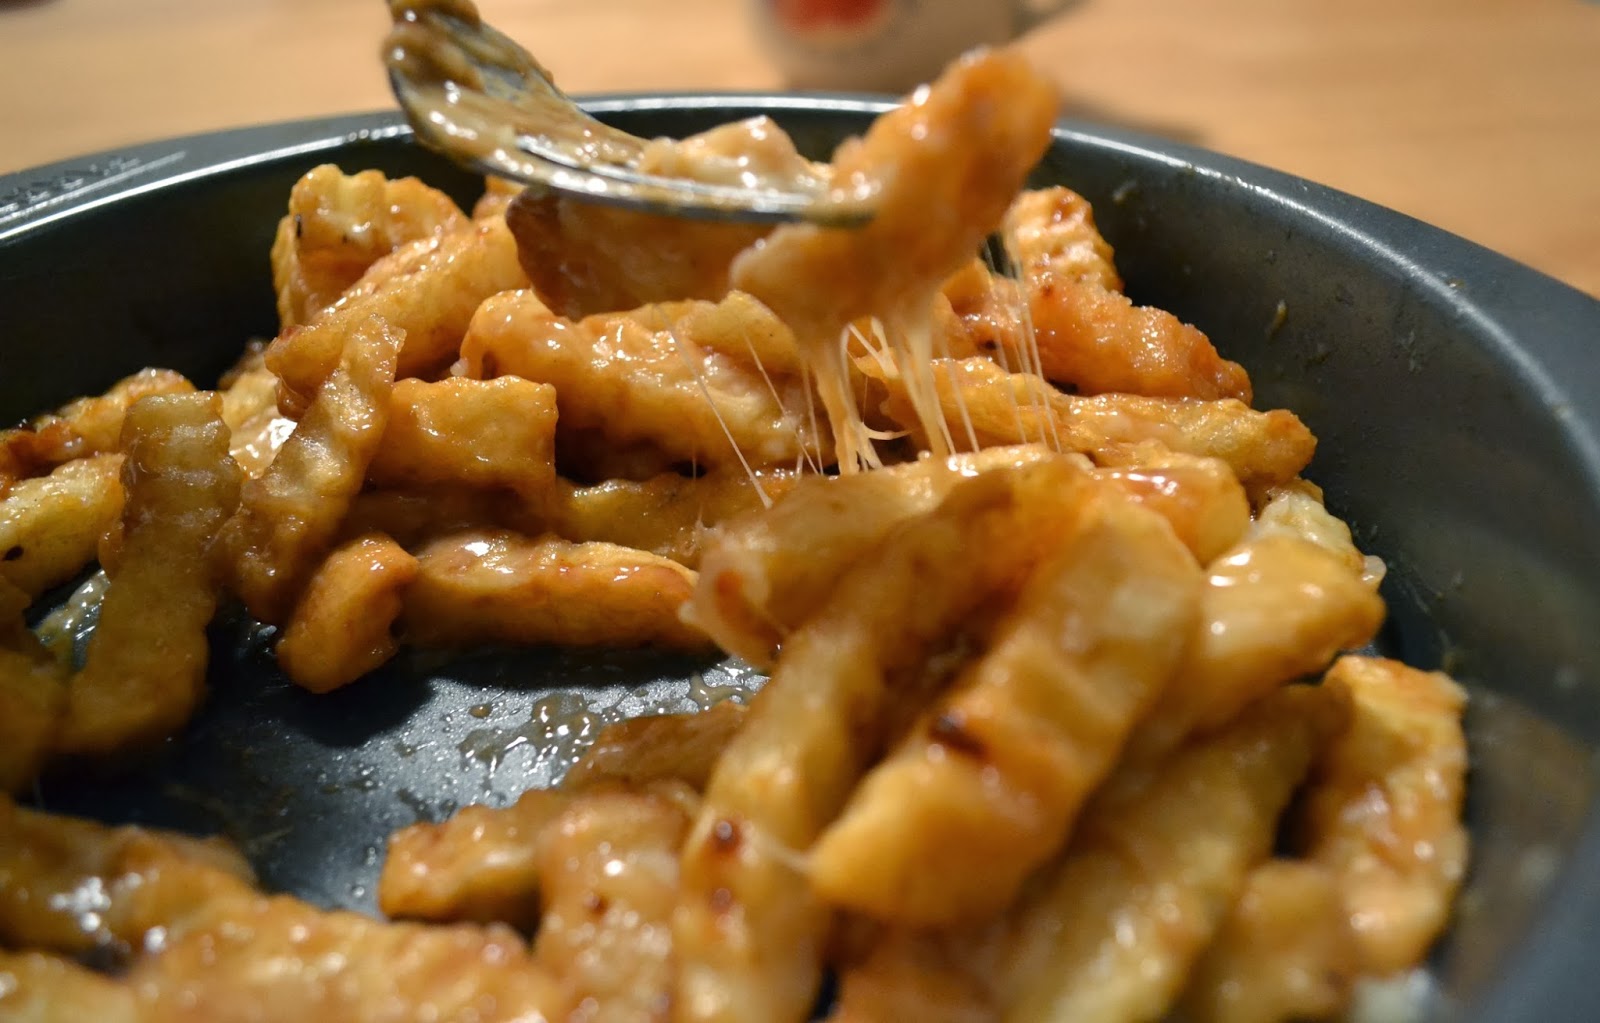
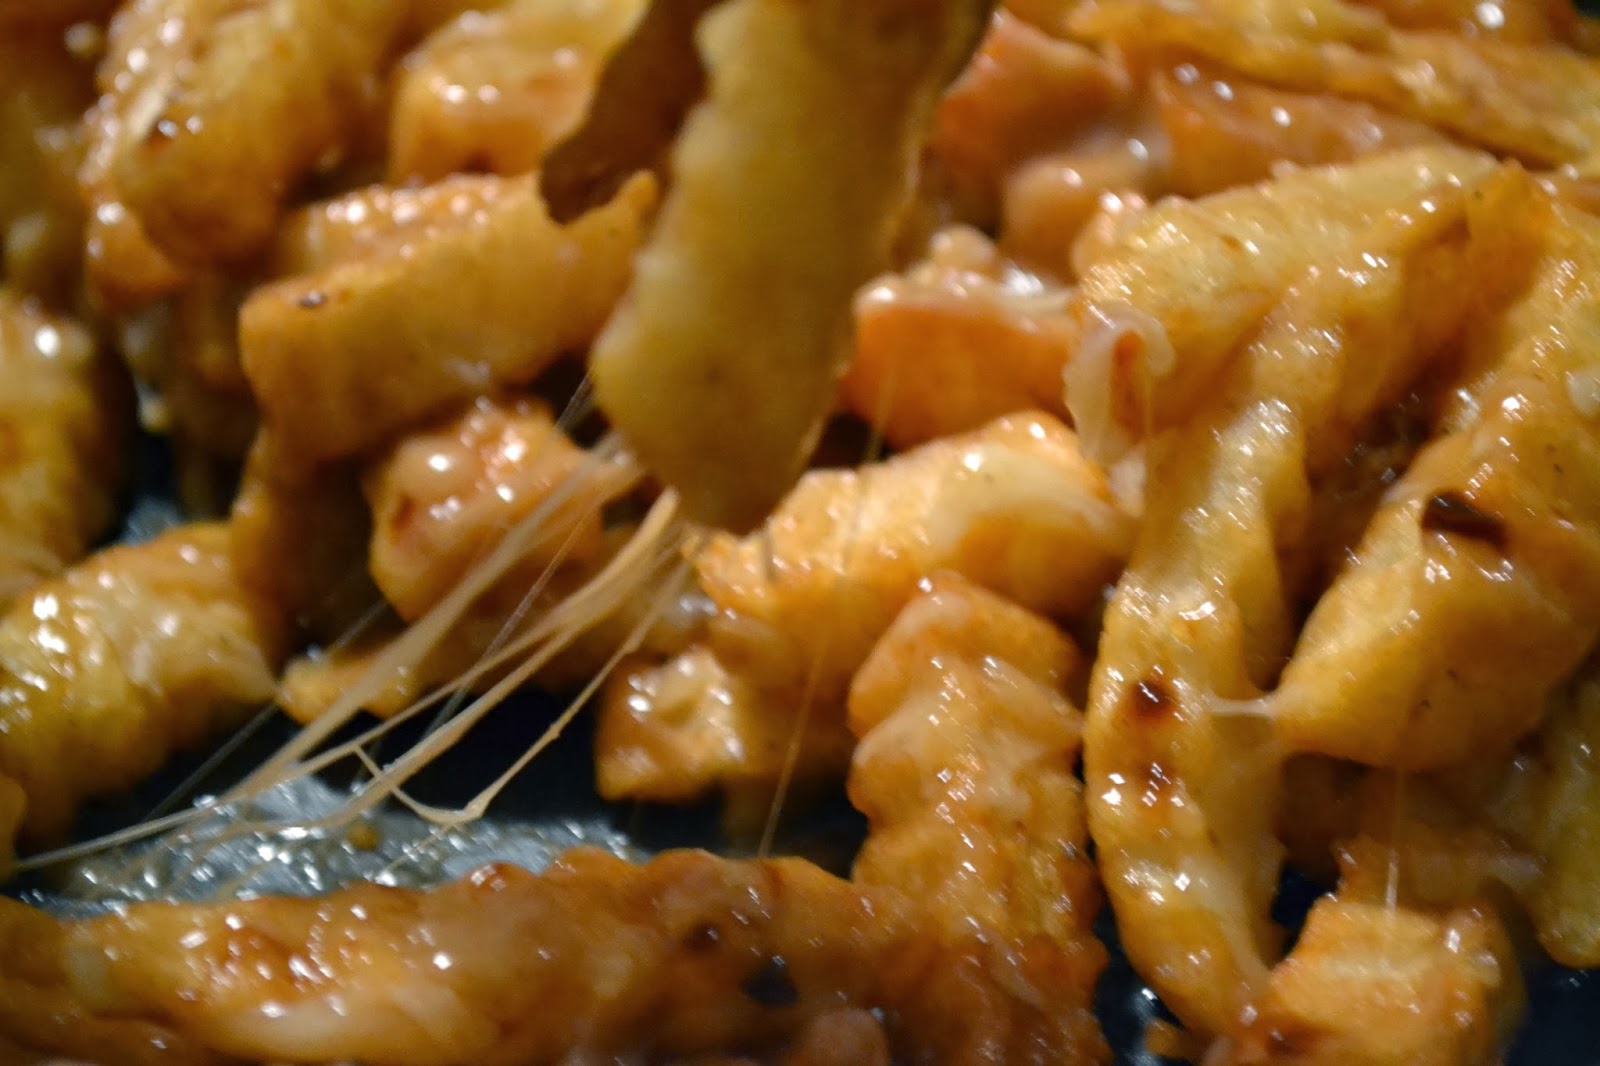
To fry chicken in batches, take a few pieces at a time and place them in the hot oil.  Allow them to fry for about 4 minutes until brown and crispy, turning occasionally with tongs to allow for even frying. 

Remove from oil and drain on a paper towel.

Serve warm with honey mustard dipping sauce on the side.

Creamy Honey Mustard Dipping Sauce

1/2 cup mayonnaise
1/4 cup honey
1/4 tsp. salt
1/4 tsp. garlic powder
1/8 tsp. black pepper
2 Tbsp. mustard
1 Tbsp. vinegar

Add all ingredients in a bowl and stir to combine.  Cover and refrigerate at least 1 hour before serving to let flavors blend together.

Enjoy!


Thursday, March 27, 2014

A Delicious (& Green) St. Patty's Day Dessert


Ingredients:

1 box pistachio instant pudding
8 oz container cool whip
10 oz bag of mini marshmallows
8 oz block of cream cheese
2 15 1/4 oz can of fruit cocktail ( in juice )

In large bowl, beat cream cheese until smooth and creamy.  Add in cool whip and pistachio pudding.  Fold to mix together the ingredients.  Add in two cans of fruit cocktail, undrained.  Stir.  Add in marshmallows and stir to combine all ingredients together.

Place in a 13x9 baking dish.  Refrigerate for at least 2 hours before serving.

Enjoy!

Friday, March 21, 2014

Beef Soup with Beef Shank & Onions On the Side


Ingredients:


For Soup:

  • 2-3 packages of Beef Shank for Soup (depending on how much meat you want to make for the "side"
  • 1 bag of carrots
  • 1 bag of celery (tops only)
  • 1 medium onion
  • fresh parsley
  • 1 8oz can tomato sauce
  • 2 tsp. salt
  • 1 box pasta of choice ( I used orzos )
For Meat:
  • Cooked and cooled beef shank
  • 1 whole onion, sliced
  • 1 tsp. sugar
  • 2 tsp. salt
  • 1/2 tsp. black pepper
  • 2 Tbsp. apple cider vinegar
  • 2 Tbsp. oil

Directions:

Start by peeling carrots and cutting into halves or thirds, depending on the length of the carrots.  Chop the whole bag of celery in half, using the tops for the soup.  Wrap the remaining and save for a later use.

Remove meat from package and rinse under warm water.  Put into a large sauce pot and cover with water.  Over high heat, bring to a boil.  Skim off excess fat and lower to medium heat.  Add in whole onion (unpeeled), celery tops, peeled and cut carrots, some fresh parsley, salt, and tomato sauce.

Continue on a slow boil until the meat falls away from the bone.  About 1 1/2-2 hours.


When it's finished cooking, drain the broth into another pot.  Set aside meat to cool.  Slice up cooked carrots and dice a few stalks of celery.  Add the carrots and celery into the broth.  Boil your choice of pasta according to the directions on the package.  Drain.  Add cooked pasta into broth.

For Meat:

When the meat is cool, break into pieces trying to remove as much fat as possible.  Place into a medium sized bowl.  

  
Add in remaining ingredients (oil, salt, sugar, pepper, onion, and vinegar) and stir to combine.  Cover with plastic wrap and set aside until ready to eat.  Do not refrigerate as meat develops a gel like consistency when it gets too cold.  


You can add meat into your soup or just eat it on the side. 


Enjoy!

Monday, March 17, 2014

Kids St. Patrick's Day Lunch

Well another holiday is here, which means that I was ready to go to make a festive little lunch for my kids.  Although I really don't consider St. Patrick's Day a holiday per say, I still try and make these kind of days a little more special than the rest. And just because we're not Irish doesn't mean we can't celebrate with the best of 'em!


This is a really simple lunch that doesn't take much time at all to put together.  Which was perfect considering I had piles of laundry waiting to be folded and put away and my husband magically disappeared as soon as the laundry basket hit the bed.

The sandwich took a lot of bread.  It took 6 slices, which is absurd considering that I had to make two of these little clovers!  But I really couldn't think of anything else St. Patty's Day-ish to make.  I just cut out 6 hearts, smeared some good 'ol peanut butter and honey on them, and sandwiched them together.  And took a left over piece of bread and cut out a rectangular shape to make the stem.


I sliced up some cucumbers and just placed them inside a little container.  And also added two orange pixie sticks.  If my kid's teachers are reading this, I do apologize for that.  But I didn't have many colors to work with and needed something orange.  So sorry.  Good luck keeping them still.

For the cheese stick leprechaun, I just cut out the hat and a little orange beard and taped them on.  I hot glued the little yellow piece of paper to the back of the hat and then hot glued a four leaf clover I had cut out from some construction paper.  That was probably the most annoying thing I have tried to do this week.  AND it doesn't even really look like a clover.   There are far too many little leaves.  But you might not have even noticed if I didn't mention it.  Okay, quit looking at it!


I put some lucky charms into a baggie and stapled a bag topper I had made to the top of it.  You can download that HERE.  Easy peasy!


For the juice box, I simply covered it in some green construction paper, and then cut out some black construction paper and taped that around the juice box.  I cut out a yellow buckle and taped that to the front.  Done.

You don't have to spend a lot of time to make a special holiday lunch for your kids.  And things don't have to be perfect.  (I'm still trying to learn that).  I just do the best I can and work with the amount of talent the good Lord gave to me.  And so be it if my clover has a few extra leaves.  Maybe that means my kids will be extra lucky.  No? well,..I tried.

Easy & Quick Parmesan Knots

Every Thursday in my house is pasta night.  Week after week.  And every week I always decide at the last minute that our meal would be better if we just had some garlic bread.  Or bread sticks.  Or OH, maybe some garlic knots.  And every week I rummage through my freezer and realize that I didn't buy any.  I do the same thing every week.  You think I'd learn my lesson and pick up a few boxes in case I decide to make them.  But I never do.  It is one of the many wonders of me.  But I always seem to have a can of biscuits stored away in my refrigerator.  And this past week, they came in handy.  I used them to make parmesan knots.  They're kind of like garlic knots but not as oily and not as garlicky. But just as delicious!


Ingredients:

1 12 oz. tube of canned biscuits.  (I used Pillsbury buttermilk biscuits)
1/4 cup olive oil
4 Tablespoons grated parmesan cheese (I used Kraft)
1 tsp. dried parsley flakes
1 tsp. garlic powder

Directions:

 Preheat oven to 400 degrees. Roll out each biscuit into a 12" rope.  Tie into a knot.  Place on a non greased baking sheet. Bake for 8-10 minutes or until golden brown.  

In a large bowl, combine remaining ingredients and brush onto the warm knots when they're finished cooking.  Serve warm.


Enjoy!


Thursday, March 13, 2014

Creating a Kitchen Command Center


I'm always looking for new ways to get my home in order.  And having too much clutter has always bothered me.  So every time I walked into my kitchen and saw paperwork piled underneath tons of magnets on my fridge, a little part of me would die a little!  Okay, a slight overreaction.  But it did bother me.  I needed to come up with a way to organize these papers and incorporate an organized way to keep track of daily and monthly tasks. My kids homework schedules, permission slips, and teacher notes were starting to take over my kitchen.  I knew it was time for something new.  So I created my kitchen command center. 

Here's what I started with.  I know, beautiful isn't it? I always hated this stupid kitchen sign but it was all I could fit on this extremely narrow but tall wall.  So it was time to get to work.


First things first.  I removed the wall hangy thing-a-ma-jig. Not quite sure what you'd call it.  Wiped down the wall with a damp paper towel (just because I always like to start with a nice clean workspace) and gathered all my materials needed.  I placed everything on the floor and arranged it the way I wanted it to be hung on the wall. After I finally made all the decisions, hubby got his hammer and got to work. 

This is what I came up with:


I was so happy with the way it turned out.  Now I have a place for everything.  All my kids schoolwork stays in one place.  Nothing ever gets forgotten and this is the first place I walk to in the morning to check what is going on for that day.  


This little gem I actually purchased at the Goodwill for $3.  It had paint and marker all over it but after a good cleaning, it was perfect for what I wanted it for.  I get a menu dry erase board and two little compartments for my kids school stuff, which I labeled for each child.  (Eventually I'll have to tweak this system a little bit when my littlest one goes to school.) Every Sunday night I get out my dry erase marker and write down our weekly dinner menu.  This helps me not only meal plan and budget more, but it also helps me remember what I need to pull out from the freezer and defrost the night before.  And the cute little days of the week magnets I had purchased at Wal-Mart about 3 years ago.


For my calendar, I had found a grey chevron printable calendar online and slipped it into a document frame from the dollar store.  I used this instead of a regular frame because it doesn't have a border and wouldn't cut down on the writing space.  I just write the month on top and fill in the days for the month and I have a dry erase calendar that perfectly fits into my command center.  This is so great to look at everyday and remember what is due for my kids at school, doctor appointments, conferences, and I even write down things I don't want to forget.  As you can see on Friday, I didn't want to forget that I had to make potato salad.  It sounds odd, but sometimes these things slip my mind.  Must be my old age! So, this is a great place to write down a few reminders to myself.  


This little bill organizer I purchased from Wal-Mart for around $2.50.  I thought it would be perfect to hold any checks my husband receives in the mail from his business, my own personal checks for when I send out bills, and a little sticky notepad for when I need to jot something down.  And of course, my label maker strikes again!


And what is a command center without a supply of pens and dry erase markers?  All easily accessible.  I just picked up a pencil holder and drilled a screw through one of the openings in the back and viola!


 At the very top, I have a sign with my family name that I had made a few months back and a fabric covered cork board to hold all of our important papers.  Right now I have my son's homework schedule for school and my daughter's book-it certificate for Pizza hut. (She made me put that there so I was sure NOT to forget it!)  Perfect for little things that we don't want getting lost in the shuffle or being stuffed behind other paper work.


Above my calendar I also have a bill payment tracker that I created on Excel. I placed in the same type of document frame I put my calendar in.  It basically just has every monthly bill listed on the left side, followed by the amount, and then the due date of each bill.  I have a column for every month of the year and I simply just put an 'X' in the box when the bill is paid.  This way I never forget to pay a bill on time.  And I can't forget the little silver and black wall decal flowers.  So cute, aren't' they?  I just placed them there because that awkward space between the light switch and calendar was getting on my nerves.  I purchased them at Kohl's.  


A nice way to keep your daily life organized, simple, and easy to manage.  And now I have my refrigerator door back and free of clutter and papers!  That's just a terrific plus for me.  


Wednesday, March 12, 2014

Kid Friendly Chicken Sliders Using Chicken Nuggets


My kids absolutely love these little chicken sliders and I absolutely love how simple they are to make.  I usually use round chicken nuggets but I only had dinosaur shaped stored in my freezer.  Improvising...That's what us moms do!

What you'll need:

  • Chicken nuggets 
  • Small dinner rolls ( I use King's Hawaiian Style dinner rolls )
Any toppings your kids like:

  • Ketchup
  • Lettuce
  • Mustard
  • Mayo
  • Pickles
  • Cheese
  • Onions ( Sadly, my kids won't dare eat them!)

Bake your chicken nuggets according the package.  Cut your dinner rolls in half.  Place a chicken nugget on top of the bottom half and assemble the sliders using any condiment or topping your kids like.  And that's it.  You're done!  Pair it with some chips or some veggies and you have a super simple meal your kids will love.


Enjoy!

Sunday, March 9, 2014

Sweet & Creamy Coleslaw


I'd have to say that coleslaw is one of the most underrated side dishes ever.  Everyone always opts for the macaroni or potato salad.  But once you make this, I'm positive people will think twice before skipping over this delicious slaw.  It's sweet and creamy and makes the perfect side dish for your next barbecue or an easy dinner.  The best part is that it's so much easier to make than any of the other side dishes because there is no cooking required.  Just blend, chill, and serve.

Ingredients:

  • 1 (16 ounce) bag coleslaw mix
  • 1 Tablespoon white vinegar
  • 1/2 cup sugar
  • 2/3 cup Miracle Whip
  • 1 Tablespoon milk
  • 3 Tablespoons vegetable oil
  • 1/4 tsp. salt
  • 1/8 tsp. black pepper
Directions:
  1. Whisk together the vinegar, Miracle Whip, sugar, milk, oil, salt, and pepper in a bowl.  
  2. Pour dressing over the coleslaw mix. Mix until coleslaw is well coated.
  3. Chill in the refrigerator for at least 2 hours before serving.  
  4. Enjoy!


Saturday, March 8, 2014

Cheese Fries With Gravy


Who doesn't love french fries?  It's one of my weaknesses, I admit.  I can't see a plate of fries without at least eating one.  It's a negative trait about me that I'm trying to work on, but will probably always fail because frankly, who doesn't want to eat fries?  A world without fries is not a world for me.

But a plate of crispy fries smothered in gravy and melted cheese?  I don't take just one.  I take the entire plate.  And I'm not sorry!

I grew up in Jersey eating this deliciousness and because I currently live in Florida, this dish can't be found anywhere.  Trust me, I've searched.  So I thought I could recreate it at home with very few steps, and I succeeded.  This is the easiest dish to make.  You can eat it for a side dish but I just eat it as a main dish because it's so filling but so amazing that I don't want to eat anything else when I have this in front of me. 

Ingredients:
  • Frozen fries (any cut will work but I use crinkle cut)
  • 1 Jar brown gravy ( I used Heinz Savory Beef)
  • 1 bag shredded mozzarella cheese

Directions:

  • Heat gravy in a sauce pan on medium heat, stirring occasionally.
  • Deep fry your french fries according to the directions on the package.  Drain on a paper towel. 
  • Transfer to a cake pan, making sure the fries are in an even layer.
  • Top with as much cheese as you like.
  • Pour hot gravy over fries and cover the cake pan with a plate to make sure all the cheese melts.
  • Enjoy!
How easy was that?  What are you waiting for?  Go make this, grab a fork, and dig in!!


Thursday, March 6, 2014

Creating Storage Boxes From An Old Box And Shelf Liner


This is so simple to do and costs around $2.50 to make.  You can use any old box that you have laying around.  Diaper boxes would be perfect for this.  I used an old chip box I had on hand after I went grocery shopping.

Things You'll Need:

  1. A box
  2. Shelf liner ( I purchased mine at the Dollar General for $2.50 )
  3. Scissors or a box cutter

I started by cutting the flaps off the top of the box.  You can use a box cutter for more even cutting but I just used a plain old scissor.  Either one does the trick.

I unrolled a large piece of the shelf liner and placed the box in the middle, bringing up all sides to make sure it would cover all of the box and fold over the sides.  I didn't cover the inside because I knew I would be storing it high enough and have enough items in the box that no one would even be able to see the inside.  Why do more work when you don't have to, right?

I then cut from the sides diagonally until I reached all four corners.  This will make it easier to fold over the sides of the box without looking all bunchy and wrinkly.  


I unpeeled the backing off, one side at a time.  I folded over the longer sides first. 


Then bring up the smaller ends next, folding over the open sides of the box.  If you find that you don't have enough shelf liner and that your box is too big for the piece you cut, you can always cut extra pieces and stick them on where you need them, just trying to match the pattern.  


And you're done.  A simple way to create some cute storage.  

I added a label to the front and used them on the top shelf in my closet.  Any size boxes would work and they have so many patterns of liner to choose from.  Having all these possibilities for some cheap storage ideas makes me a little giddy. Kind of makes me want to go grocery shopping to get some more boxes.  Well, maybe not…


Sunday, March 2, 2014

Easy DIY Coffee Filter Wreath


What You'll Need:


  • 1 Package of coffee filters (around 100-150 depending on the fullness of your wreath)
  • Duct tape
  • Glue gun & glue sticks
  • Ribbon (for hanging)
  • Wire hanger (optional)
  • Pipe Insulation; Size 1/2 in. x 6 ft ( Can be found at your local Home Depot for around $1.18)
I started by cutting the pipe insulation in half.  You actually can get two wreath forms for $1.18.  That's a pretty awesome deal!  

I straightened out a wire hanger as straight as I could get it and inserted into the isolation.


This step is completely optional, but I found that it helped shape the pipe into more of a circle shape.  

Then I duct taped the ends together.


It's not a perfect circle, but the coffee filters will actually make the shape.  So don't worry if it comes out a little odd looking.

There's no specific way to fold the coffee filters.  You can scrunch them, fold them, whatever look you want.  I did the front by folding the sides of the coffee filter in, then folding it in half, and then folded the bottom up a slight bit so I could put the hot glue onto it.


I then started to glue the filters on the wreath, covering as much as the front as I could. 


Continue until the entire front section of the wreath is covered.  

Once I had the front covered, I flipped the wreath over and glued a ribbon onto the back.  


Then I looped it, and glued it together.


Just make sure to measure how long your ribbon needs to be by holding up your wreath where you're going to hang it and add about a 1/2 inch.

Once I had the ribbon glued, I started to crinkle up the coffee filters into a flower-like shape. 


I then glued them all around the back and sides, making sure to cover every part of the insulation pipe.  


When you're finished, just scrunch and fluff to get more of a desired shape.  If you see any spots you missed, just scrunch up some more filters and fill them in.  You can glue as little or as many filters as you want.  The fuller you want the wreath, the more you glue on.  

I hung my wreath onto a command hook on my laundry room door and made a bow with the same ribbon I used on the wreath and just hot glued it on.  


You can add flowers, more ribbon, or whatever you like to it.  But I just love the simplicity of the white  wreath on the white door.  I think it looks pretty and clean and perfect for my laundry room door.

The entire wreath costs me around $2.50 because most of the items I used I already had on hand.  

I could see myself getting obsessed with making these.  You can make them as large or small as you like. You can change the shape, or also change the color of them by dying the filters, dipping them in paint, or adding different ribbons for holidays.  The possibilities are endless. And that makes me want to put on my little dancing shoes and do a happy dance!