Friday, May 30, 2014

Healthy Almond Joy Oatmeal

Anytime I'm given the opportunity to eat something for breakfast that incorporates chocolate in it, you can guarantee that I'll be eating it.  But when it mixes coconut with said chocolate, I'll most likely be eating it a few times a week.  This oatmeal is so perfect because it has all the flavor of an Almond Joy candy bar, but with healthy ingredients.  Makes ya wanna just jump for JOY doesn't it?


Ingredients:


  • 1/2 cup old fashioned oats
  • 1 cup Unsweetened Vanilla Almond Milk
  • 2 Tbsp. sliced almonds
  • 1 Tbsp. dark chocolate chips
  • 2 Tbsp. shredded sweetened coconut ( I tried it with unsweetened and I didn't care for it )
  • pinch of salt

Directions:

Mix together almond milk, salt, and oats.  Prepare the oats according to the directions on the package.  ( I use the microwave).  

While still hot stir in almonds, chocolate chips, and coconut.  Serve warm.

Enjoy!


Wednesday, May 28, 2014

Last Day of School Countdown Printable


Click HERE to download the printable.

With the school year almost over, my kids are getting extremely anxious for summer time.  So I made this simple but really cute countdown to let them know how many days were left until they were free little birds!  Plus, it beats having to answer the question "how many days left NOW?" every morning.  All I did was print it out, put it in an 8x10 frame and I use a dry erase marker to change the number every morning.  I put it on a table by our front door so they can see it each morning before they leave.

After a while I'm sure I'll change it to a countdown until school starts.  But that won't be for my kids! It will be for me!  ;)

Happy printing!


Tuesday, May 27, 2014

Pink & White Two-Toned Nightstand Makeover

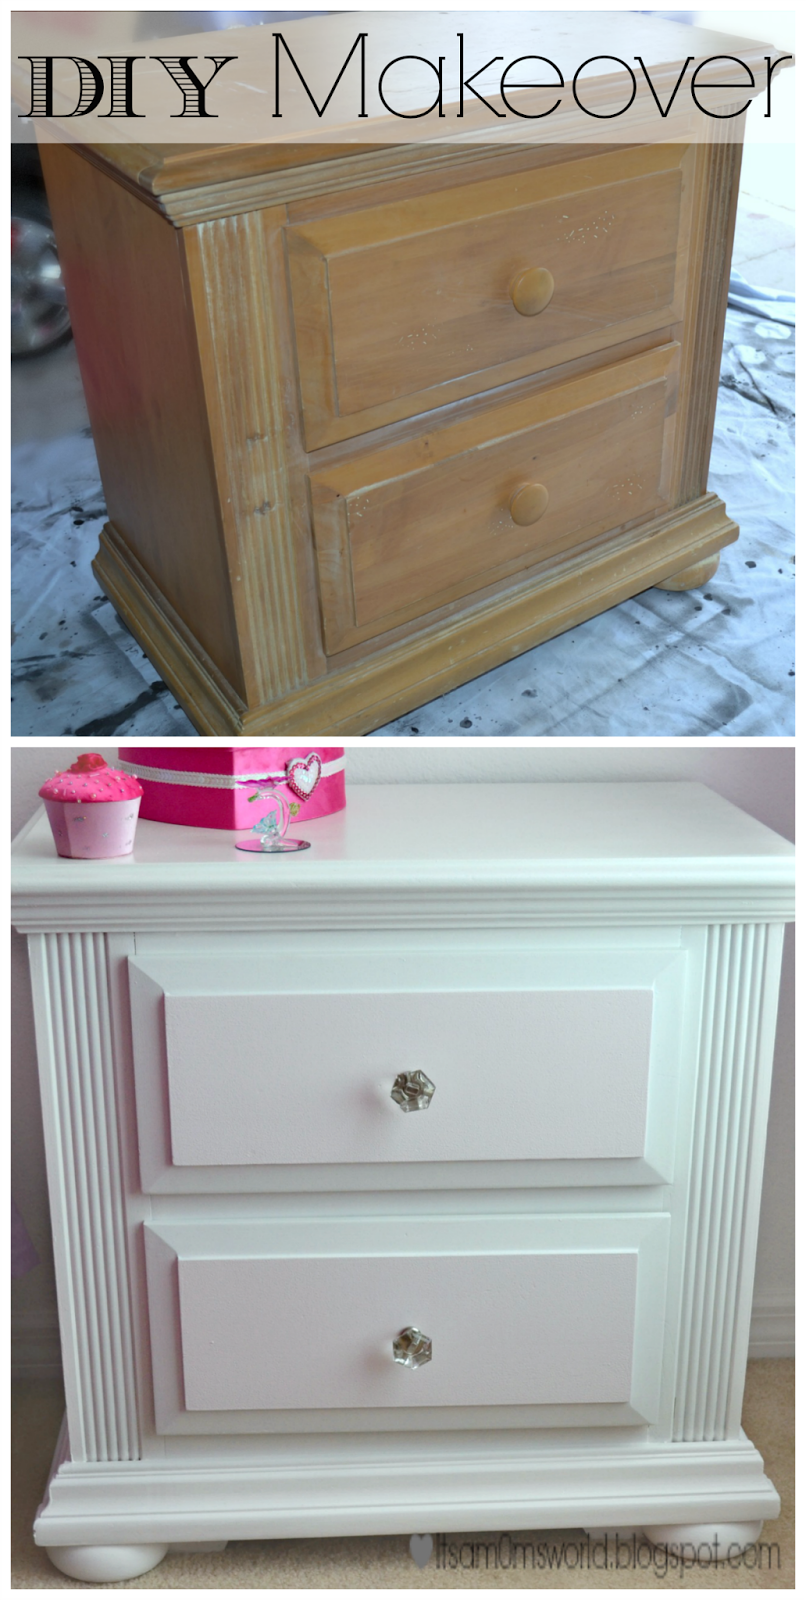
It's not very often I can say that something turns out the EXACT way I imagine it.  But this is one project that did!  I knew the look I wanted for this nightstand for my daughter's room.  I had everything so beautifully imagined in this little head of mine. And I can happily report, that this is exactly what I wanted.


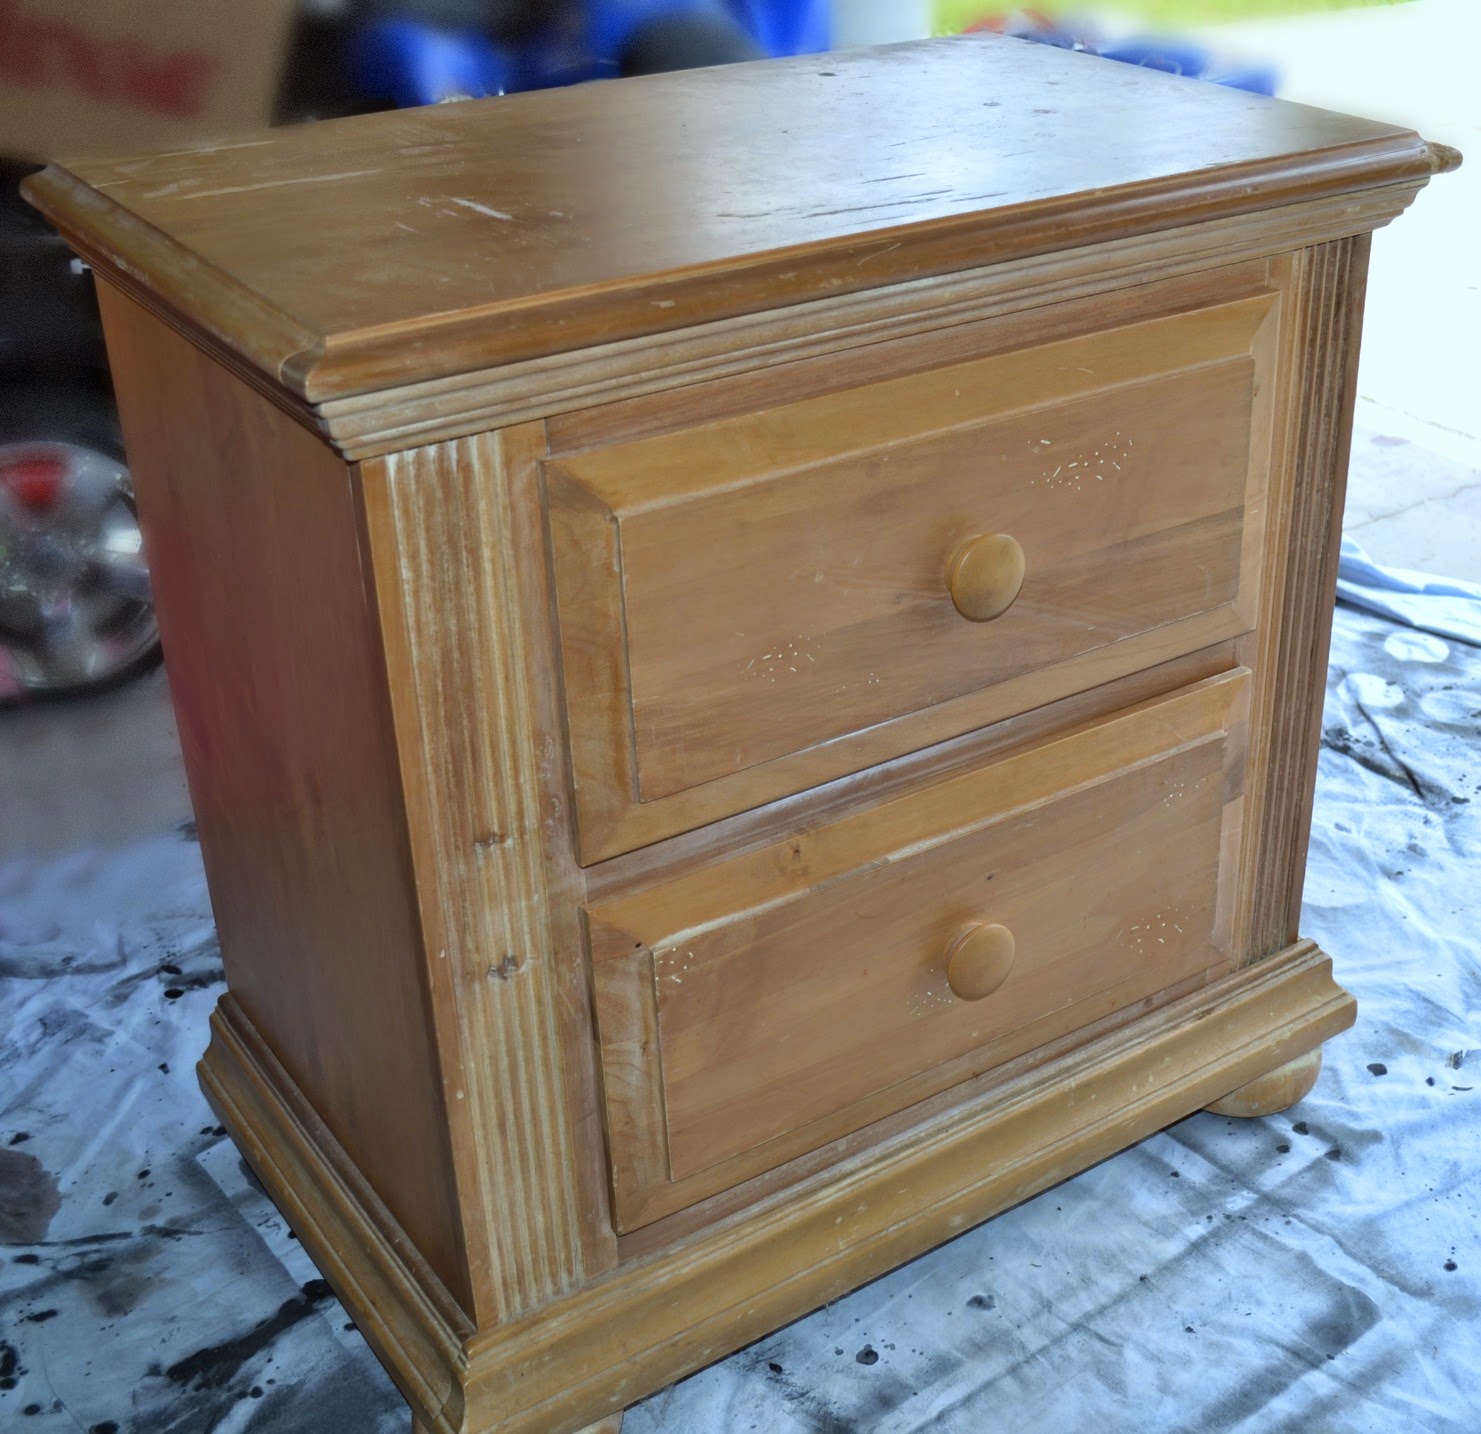
Here's the nightstand before:


I had purchased this nightstand with a matching dresser from someone local for $50.  I was so excited because for the quality and size of this furniture, it was an amazing deal! It had a few scratches and dents, a broken corner, and some kind of weird marks on it that I couldn't tell you what they were.  But there's nothing that a coat of paint and some elbow grease can't fix.  So I knew I'd have a little bit of work ahead of me.

To get started, I removed all the drawers and using an air compresser, I blew out all the dust and dirt that was laying on the bottom and sides.

I sanded the whole nightstand down with 150 grit sandpaper.  I didn't do a lot of sanding because I knew I'd be priming it.  So a light sanding worked just fine.

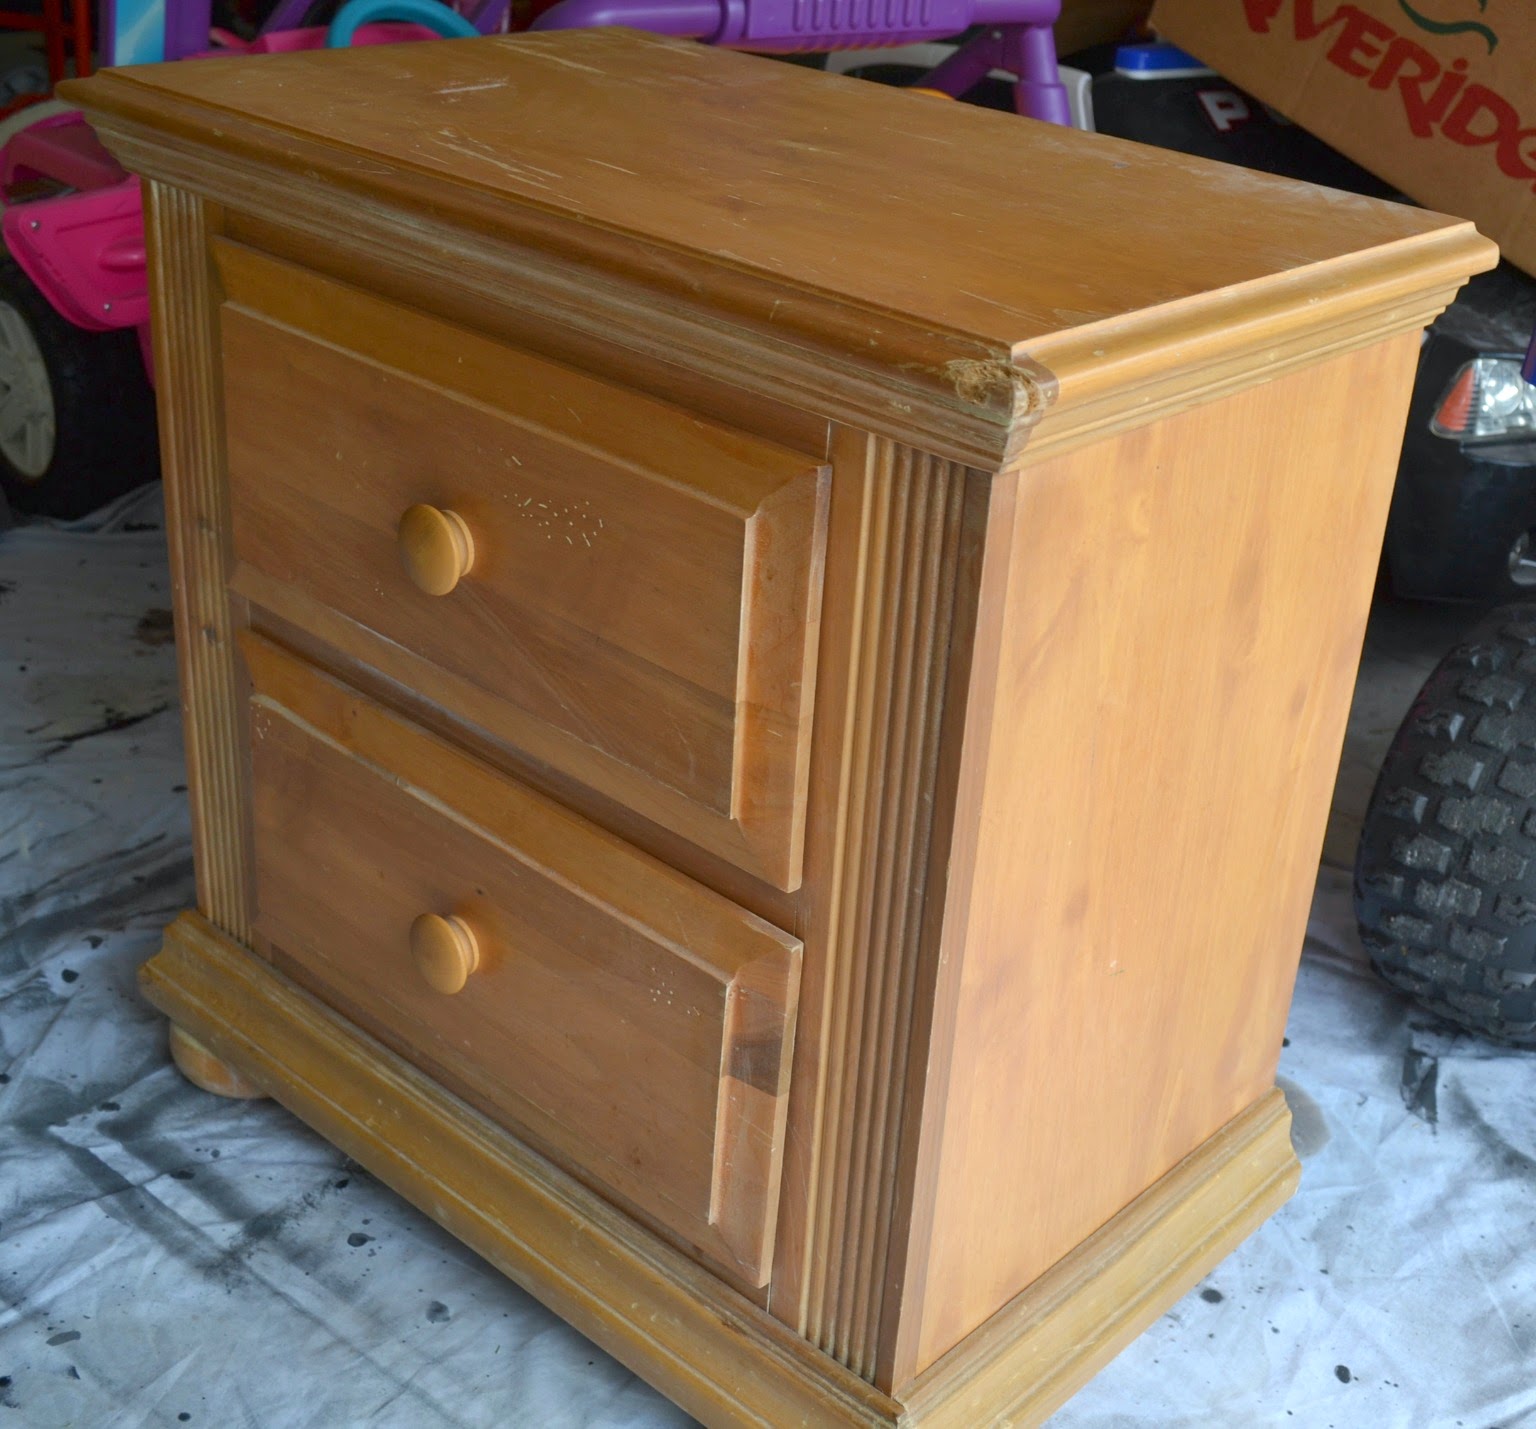
Before I got right into painting, there was some work to be done.  I needed to fix that chipped/broken corner.  Here's what it looked like:


There was this huge gash of wood missing from the side.  So I used some Elmer's wood filler and a plastic scraper to smooth it over and fill in the missing piece.  I also filled it any dents or holes that needed a little work, too.


After letting it dry overnight, I sanded it with 100 grit sandpaper, by hand.  I didn't want to use my electric sander because I didn't want to risk having the pressure of the sander leaving holes in the wood filler.  I sanded off as much excess filler as I could, making sure it was a smooth as I could possibly get it.


Now it was time to prime it!

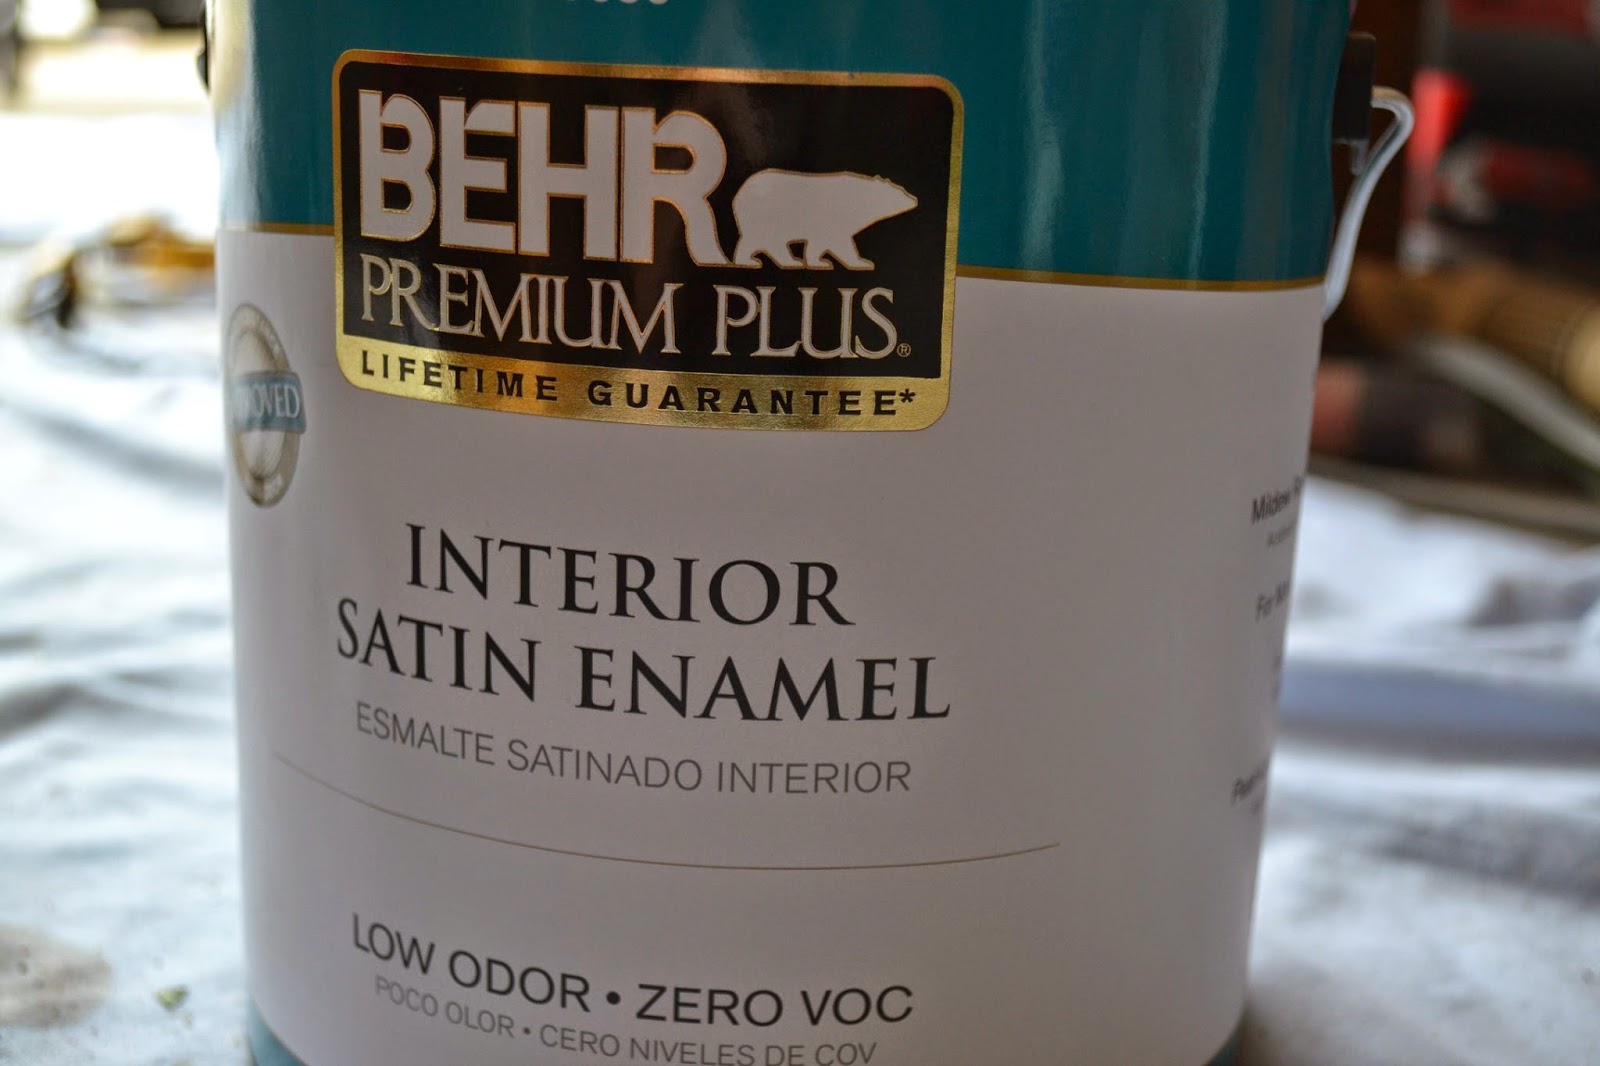
I used Zinsser Cover Stain Primer in white.  I like to use this primer for wood or dark colored furniture.  The beauty part of this primer is that there's no sanding required.  But for some reason, I just can't seem to skip sanding.  Even if it's just a light one, I always seem to maybe make a little more extra work for myself.  I have no idea why!


The rollers I used to prime and paint the nightstand was a 4 inch foam roller that I had picked up at Home Depot.


I primed all the drawers first.


Now I know that some people say that primer isn't that important and it doesn't have to be perfect.  I kind of agree with that, in a way.  It doesn't have to be perfect, but you don't want runs and bubbles that you will see once it's painted.  So I do try and take my time and get a nice clean finish, even if it is just primer.

After the drawers were finished, I started on the nightstand.


I like to do two coats of primer whenever I can.  Especially when going from dark furniture to light.  I wait about 2 hours between coats.

After the two coats were applied, I let it dry overnight.  Now it was time to paint!

I used Behr Satin Enamel paint in the color Popped Corn.


I used the 4" foam roller for the big surfaces and a Purdy XL Medium Stiff Nylon brush for the detail and hard to reach spots.  You don't want to cheap out on a brush because the last thing you want to be doing is picking out tiny brissles out of your freshly painted surface.


I gave the nightstand and the drawers two coats of paint.


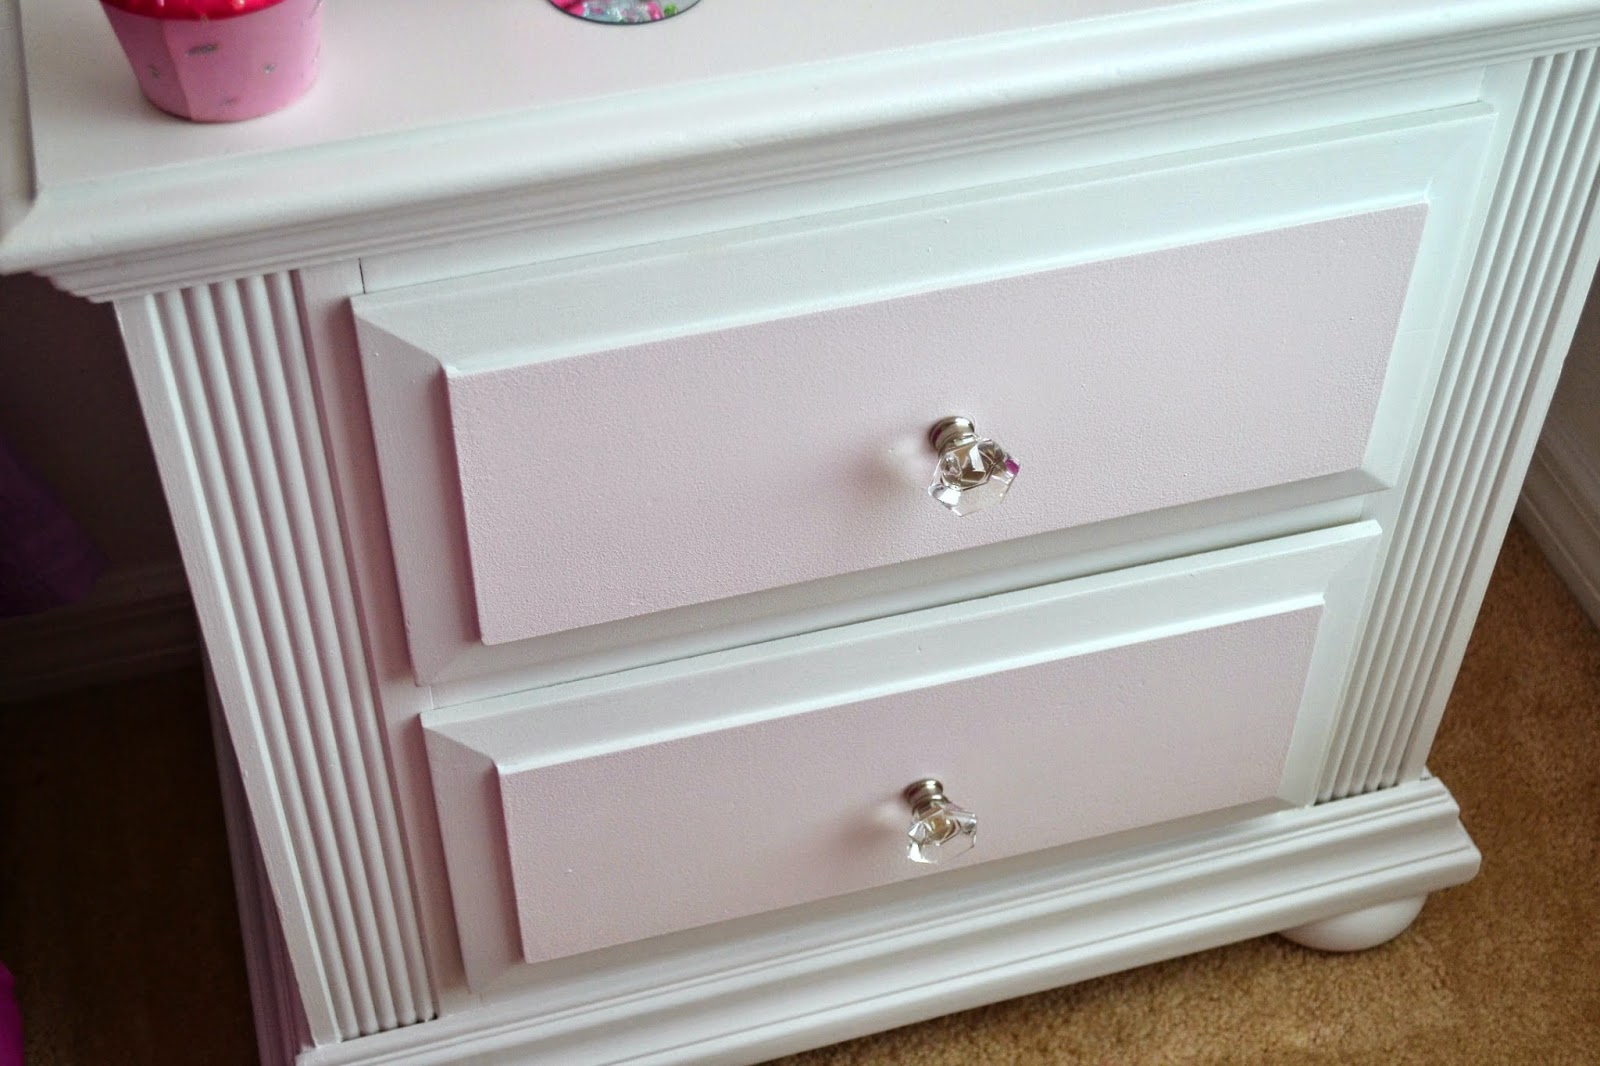
After the paint dried overnight, I gave the middle of each drawer two thin coats of pink paint.  The paint I used was by Behr in the color Musical Mist.  It was the perfect shade of pink that I wanted.  It's a pale pink that I thought would look really clean and nice against the white.


This was actually the sample size that I purchased because I knew the inside of the drawers wouldn't take much paint.  The sample cost me around $2.50.

I decided I wanted to change the knobs on the nightstand as well so I went with these crystal like knobs that I had picked up at Home Depot. ( Are you seeing the slight obsession I'm developing when it comes to shopping at Home Depot??)


The last step was to apply a top coat to protect it from any scratches or normal wear and tear. And also for the fact that this was going in a 6 year old's room and Lord knows what she could do to this thing after a while.  So for this I used Polycrylic by Minwax.  I didn't want to use Polyurethane as I've heard it yellows over time.  So I decided to go with this one.  I applied it, but only to the top of the nightstand.


And it was finally finished!


Still on the look out for the perfect lamp to top this little beauty, but have had no such luck yet!


Here's the before and after:

I'm so happy with it.  And more importantly, my daughter absolutely loves it!  I think it's fit for princess!


Saturday, May 24, 2014

Easy Crockpot Pulled Pork Sandwiches

I'm not really a big pork eater, but I do have to admit that these sandwiches are ah-mazing! They're soft,  and messy, and full of BBQ flavor!  And the best part is, you set your crockpot and 7 hours later you have a delicious BBQ dinner that everyone will love!


Ingredients:


  • 6 center cut pork chops
  • 1/4 cup water
  • 1/4 tsp. black pepper
  • 1/2 onion, sliced thin
  • 1/2 bottle of your choice BBQ sauce ( I use Kraft Original )
  • 2 Tbsp. honey
  • 1 Tbsp. brown sugar
  • 1-2 Tbsp. cornstarch (optional but will help thicken sauce)
  • Rolls or bread of choice

Directions:

In your crockpot, combine 1/4 bottle of BBQ sauce, honey, brown sugar, and water.  Stir to combine.
Lay your pork chops in a single layer (as many as you can fit) and then top with some more BBQ sauce and some sliced onions.
Add in remaining pork chops and top with remaining sauce and onions.  Sprinkle with pepper.

Cook in the crockpot for 7 hours on low.

When it's finished cooking, remove all pork chops and shred.  You can either use a fork and knife, or place the pork chops in your stand mixer for super easy shredding.

Add the cornstarch to the sauce in the crockpot and stir to thicken.  Place shredded pork back into the sauce and stir.  Keep warm until ready to serve.

Enjoy!


Wednesday, May 21, 2014

DIY Yarn Wrapped "LOVE" Bottles


 I came across this type of idea a long time ago on Pinterest where someone had wrapped bottles with twine.  I absolutely loved the look and simplicity of it but being I have a different color scheme in my bedroom, I knew the bottles just wouldn't go.  So I decided to wrap them with white and grey yarn and I was so happy with the way they turned out.


Supplies you'll need:
  •  4 bottles - any shape or size will work.  I used 4 empty (and washed out) glass soda bottles


You'll also need:
  • colored yarn (I used grey and white)
  • hot glue gun
  • double sided tape
  • embellishments (I used buttons and flowers that I purchased at Michael's)

 First, I added 4 long pieces of double sided tape to each side of the bottle.  This will prevent the yarn from moving around as you're wrapping the bottle.


 I added a dab of hot glue on the bottom of the bottle and stuck my piece of yarn to it, holding it for a few seconds to have it stay in place. (Obviously this was the second bottle I did because it's a different color) :)


Then I started to wrap the bottle, getting as close as I could to the previous line of yarn so there wouldn't be any spaces.  I continued all the way around the bottle.


{ If you find that you get to the smaller part of the bottle and your yarn seems to be spacing a bit, just add some hot glue underneath to hold it in place and continue wrapping. }

When I got to the very top I just wrapped as much as I could and then finished off with a dab of hot glue and I was finished!


I hot glued each embellishment on to make the letters on each bottle except for the "E", which as you can see was made from yarn.

I purchased these beautiful white sprigs in Michael's and thought they would go perfect with the grey and white color scheme I picked.


I'm so happy with the way they turned out and it didn't cost very much to complete this project.  


This was a DIY project I definitely fell in LOVE with!


Tuesday, May 20, 2014

Creamy Macaroni & Cheese

I think it's safe to say that everyone growing up remembers eating macaroni and cheese.  It's one of the comfort foods that I can't live without.  I don't know if it's because of my insane need to fill up on delicious cheesy carbs or what, but whatever the reason, I absolutely love it.  And this recipe is not only warm and creamy but doesn't take a lot of time to prepare.


Ingredients:


  • 2 cups uncooked elbow macaroni
  • 2 cups milk
  • 1/4 cup all-purpose flour
  • 1/4 cup butter or margarine
  • 1 tsp. salt
  • 2 cups shredded cheddar cheese

Directions:

Preheat oven to 350 degrees.

Cook macaroni according to package.  While pasta is cooking, melt butter in large saucepan over medium-low heat.

When butter is melted, stir in flour.  It might become a bit crumbly, like a paste.  Quickly stir in milk and whisk until everything is dissolved and smooth. Bring to a boil while constantly stirring and then remove from heat. Immediately add cheese and stir until cheese is melted and smooth.


Drain pasta and add into the cheese sauce.  Stir until combined.

Pour into ungreased 2-qt casserole dish and bake at 350 for 20-25 minutes until bubbly.

Enjoy!