Saturday, November 22, 2014

Thanksgiving Scavenger Hunt - Free Printable

My autumn themed scavenger hunt is the perfect way to keep your little ones busy on that wonderful eating day we love so much!


With all the fun festivities we have planned for turkey day, this fun scavenger hunt is the perfect way to get the kids outside to get some exercise and take in some fresh air.  Plus, all that walking will leave room for an extra piece of pie (or two)!


You can download my Thanksgiving Scavenger Hunt Printable HERE


All you need to do is download and print it, strap on your walking shoes, maybe loosen your pants a little (I can't be the only one that needs to do this), and get to work!  You can break into teams or every individual person can complete their own lists.  Some of the items can be found indoors or outdoors.  So everyone needs to be on the lookout for the whole day!

I hope everyone has a safe and fun Thanksgiving full of love, gratitude, and family.  And pie.  Lots of pie.


Tuesday, November 18, 2014

Elf on the Shelf Planning Guide -- 6 Tips for a Stress Free Elf Experience


I don't know about anyone else but I'm so excited for Thanksgiving to get here.  Mainly because the day after Thanksgiving is when our holiday season starts!  I was always taught that when Santa comes in his sleigh in the Macy's Thanksgiving Day Parade, that marks the official start of the season. 

Most people start their Christmas season with the norm.  Christmas shopping, baking, putting up decorations, and all the other fun and festive traditions.  I do all that too, don't get me wrong.  But one of the most fun parts of the season for me is when our Elf on the Shelf (Harry) comes back.


If you have been either (A) living under a rock (B) have kids that are grown or (C) don't have any kids yet, you might not be familiar with the Elf on the Shelf tradition.  You can read about it HERE.  Basically, you adopt a little elf and after he receives his Christmas magic, he flies to the North Pole every night to tell Santa all about the day.  He returns and lands in a different spot each day so the kids have to find where he is (or what he's up to) everyday.  It's a really cute tradition that I look forward to each year and I try to top my prior year.  It's actually a sick obsession for me.


Last year I decided to join in on the fun I was seeing around all over Pinterest and have our elf Harry make a North Pole Breakfast for the kids to surprise them with his return.  It was a huge hit!  So this year, we plan on doing the same tradition.  While I know what to do for the first day of our little Harry's return, the other 26 days can be a challenge.  The first year we had him, I walked around each night with this elf flopping around in my hands thinking to myself "where the heck am I going to put this thing?".  I found myself running out of places and the tradition became more of a hassle than an enjoyment.
I knew I had to change around the way I was doing things, so the following year I made a calendar and planned each day out.  I've been doing that every year, ever since.


I know.  You're probably looking at the screen right now with one eyebrow up thinking "Is she serious?".  YES!  I know it might sound strange but it works.  And the more time I have to plan, the better ideas I come up with.  And honestly, sometimes my ideas need a few props that I need to work on.  Again.  Yes.  I'm serious.


I'm all about making this tradition as fun as I possibly can because one day my kids will be grown.  So to enjoy this time as much as I can, I have to plan ahead.

And if you're all about making this a joyous experience for your kids and YOU, I recommend you plan, plan, plan!  When your eyes bug out of your head at 10pm and you realize your forgot to move your elf, the energy and the time just isn't there.  This should be fun for you, not stressful.  The holidays are hectic enough.  We don't need anymore on our plate, right?


I've created this calendar and would love to share it with all of you (for free) to help make this season a fun one.  And to help make your Elf on the Shelf planning a little bit easier.  :)
You can download it below.


For an UPDATED 2015 planning calendar, click HERE
______________

Here are my six tips to planning for the best (and stress free) Elf on the Shelf experience:


1. Download and print my FREE ELF ON THE SHELF PLANNING CALENDAR 2014

2. Spend some time on websites like Pinterest or even do some Google searches and collect ideas that appeal to you.  Think of your own creative ideas that you'd like to try and jot them all down on a piece of paper and save any pictures for future reference.  (For some ideas you can check out my Elf on the Shelf board on Pinterest.)

3. If you have a busy schedule for December, decide on the "easiest" elf tactics out of all the ones you've written down and mark those down on the calendar on those busy days first.

4. Fill in the remaining days on the calendar with the ideas you found or that you've come up with.

5. Make a list of things you may need to buy, collect, make, and/or create for any "props" you may need to make your elf invisions come to life.

6. Create or gather all those things and begin working on them as soon as you can so that they're ready for the holiday season.  And you'll be ready too!

________________

And there you have it.  All that's left to do is create your "scenes" or elf shenanigans and every night when you finish setting up your elf, just cross the day off.  You'll be pleasantly surprised with how easy this tradition becomes and how much more enjoyable it is for you.  And the look on your kids faces when they wake up and see your Elf doing something funny, silly, or sometimes even a little naughty makes this completely worth it.

So sit back, plan, relax, and smile through the season and through it all.  Remember.  He's watching!


Sunday, November 16, 2014

A Fall Favorite -- Apple Cobbler

Fall is my second favorite time of the year, after Winter of course.  But living in Florida, we very rarely get to see cold weather come and make it's appearance.  But when we do, I'm running to the kitchen to bake something.

There's something almost magical about hearing my children's laughter outside, warm candles burning inside, and the smell of something baking in the oven.  It's the coziest feeling to me.  For me, Autumn brings anything and everything apple.  Pies, cobblers, cider...I love it all.  So I thought I'd share my recipe for apple cobbler with all of you in hopes that you can enjoy this warm and delicious dessert on a cold Fall day.  

If you've never had apple cobbler (who are you? Show your face! I've personally never met anyone who hasn't tried it) it's a crumbly, flaky, and sweet biscuity type bread on top of a warm and sweet apple pie filling.  It was my favorite as a little girl and I make it every year for my kids to enjoy it, too!

For this recipe, I almost always double the topping because it normally makes 5-6 biscuits. This is completely optional but  I like every inch of apple covered with biscuit, so I always double it.  When you double the topping, they'll expand where you kind of get a biscuit crust over the top.  I found this way a little better than normal because I just cut the cobbler into squares instead of just scooping it out and everyone gets an even amount of apples and biscuit.  


Filling:

  • 6 Cups apples, peeled, cored, and sliced thin (Usually around 5-6 apples, depending on the size)
  • 1 Cup sugar
  • 2 Tbsp. flour
  • 1/2 Tsp. cinnamon

Topping:

  • 1 Cup flour
  • 2 Tbsp. sugar
  • 1 1/2 tsp. baking powder
  • 1/4 tsp. salt
  • 1/4 cup butter
  • 1 egg
  • 1/4 Cup milk

Instructions:


Heat oven to 400 degrees.

Filling:
In a large bowl, combine all filling mix and mix until all the apples are coated.


Place apples into a large pot and cook over medium heat until tender, about 10-12 minutes.


Place in a 13x9 pan.


Topping:
In a medium bowl, combine flour, suar, baking powder, and salt.  Mix well.

Cut butter into squares, and with a pasty blender or fork, cut butter into flour mixture until crumbly.

Add in egg and milk and mix well until everything is combined (dough will be a little sticky).

Place mounds of dough over the apple filling. 


Bake on 400 degrees for 20-25 minutes or until topping is golden brown.


Serve warm and enjoy!


Tuesday, November 4, 2014

Dresser Turned Mario Playhouse

Okay, so I've been working on a project for a few days now and I'm finally finished.  I wanted to reveal it here but I wasn't quite sure how to even title this post.  I wouldn't exactly call it a DIY because to be honest, not many people are going to want to do this.  I couldn't exactly call it a furniture "make-over" either because it's not something I would want to display for everyone to see.

But even with the fact that this isn't exactly going to be a popular tutorial or being something that people are going to look at it and say "Oh, I need to do this ASAP" I still have to share it.  Because if you're a child of the 80's and grew up in the most amazing decade of all time, you will appreciate this.


If you were part of a Nintendo loving family as I was growing up, this will be something that you will appreciate.  Let me start by saying WHY I would even bother doing something like this...

My kids are video game nerds, not going to lie.  They love everything and anything Mario Bros.  So much so that we began buying Mario Bros. plush toys about a year or two ago.  It started with a simple Mario, Yoshi, and Luigi.  They played with them everyday.

Suddenly I found myself becoming obsessed with who I could buy next.  (They make EVERYONE you could think of, by the way. )  They now have a tote full of Mario plush toys and are gaining a million more this Christmas.

 As they get older, the toys are becoming less and less for Christmas.  It's more electronics, games, clothes, and other fun stuff.  But these little Mario toys are the only things that I'm willing to completely go overboard on because it's the only things through the years that they have consistently played with.  And by consistently, I mean DAILY.

Now, to be honest, they aren't exactly cheap.  They can run anywhere from $4-$25 each, depending on where or who you buy from. ( I usually buy them off Ebay).

But the price isn't an issue to me because I feel like they're toys and it's better that they play with them instead of sitting in front of a television playing video games all day.

They use their imaginations and they play together for hours.  Sometimes I peek in their rooms and watch them because the way they play is hilarious!  Try it next time your kids are playing. It's quite amusing.

As much as they play with them, I knew I wanted to buy something special for them so that they could have some type of "house" or playset to play with them in.  So I searched.

I searched Google, Amazon, Wal-Mart, and everywhere else I could think of.  I would have went all over God's creation searching for a "house" and would have driven anywhere to buy it.  But I had no such luck.  There wasn't ANYTHING, ANYWHERE.  Now I was stuck.

Okay, well if I can't buy one...I'll make one. So again, I searched.  First stop when you're looking for a tutorial?  Yup. You guessed it. Pinterest.  Well, NOTHING.  They had some great ideas for bedroom make-overs, bookshelves, and DIY Piranha Plant glasses (I mean, really?)  but no playhouse.

Now I was REALLY stuck.

So I talked to the husband.  Mr. Handyman said "We'll just build one from wood".  Let me just say, I don't like that sentence.

It's a lot easier to say that than to actually do it.  Even so, we brainstormed and we drew out what we wanted.  We priced it online.  $29 for a piece of wood and we would need two?  Negative, Mr. Husband.

If I was going to make this, I wasn't going to spend a fortune.

 I went into the garage knowing I had to have something I could make this out of.  And there it was.  On the back wall, with lights and stars glowing all around it.  (okay, slight overreaction).  I had a dresser that we stored my paint supplies in that used to be my son's nursery dresser.  It was perfect!

So I knew that's what I was going to use.

I know what you're probably thinking?  Why go through all this trouble?  Why can't they just play with them on the floor like NORMAL kids?  And they do, and they can.

 But because they spend so much time playing, I wanted to do something a little special for them.  I just don't understand why something like this isn't already made!

Minnie Mouse has houses, salons, and Dr. offices.  The ninja turtles have their lair.  And batman has caves and all sorts of playsets!  Why isn't Mario shown any love?

Well, mama mia, I think I've rambled on long enough now so we can get into how I actually went about creating this.  If you want to see how we created this playhouse, press select, start.  Okay, okay...I'll stop with the Nintendo references.  So, LETS-A-GO.  Sorry, I'll stop now I promise.

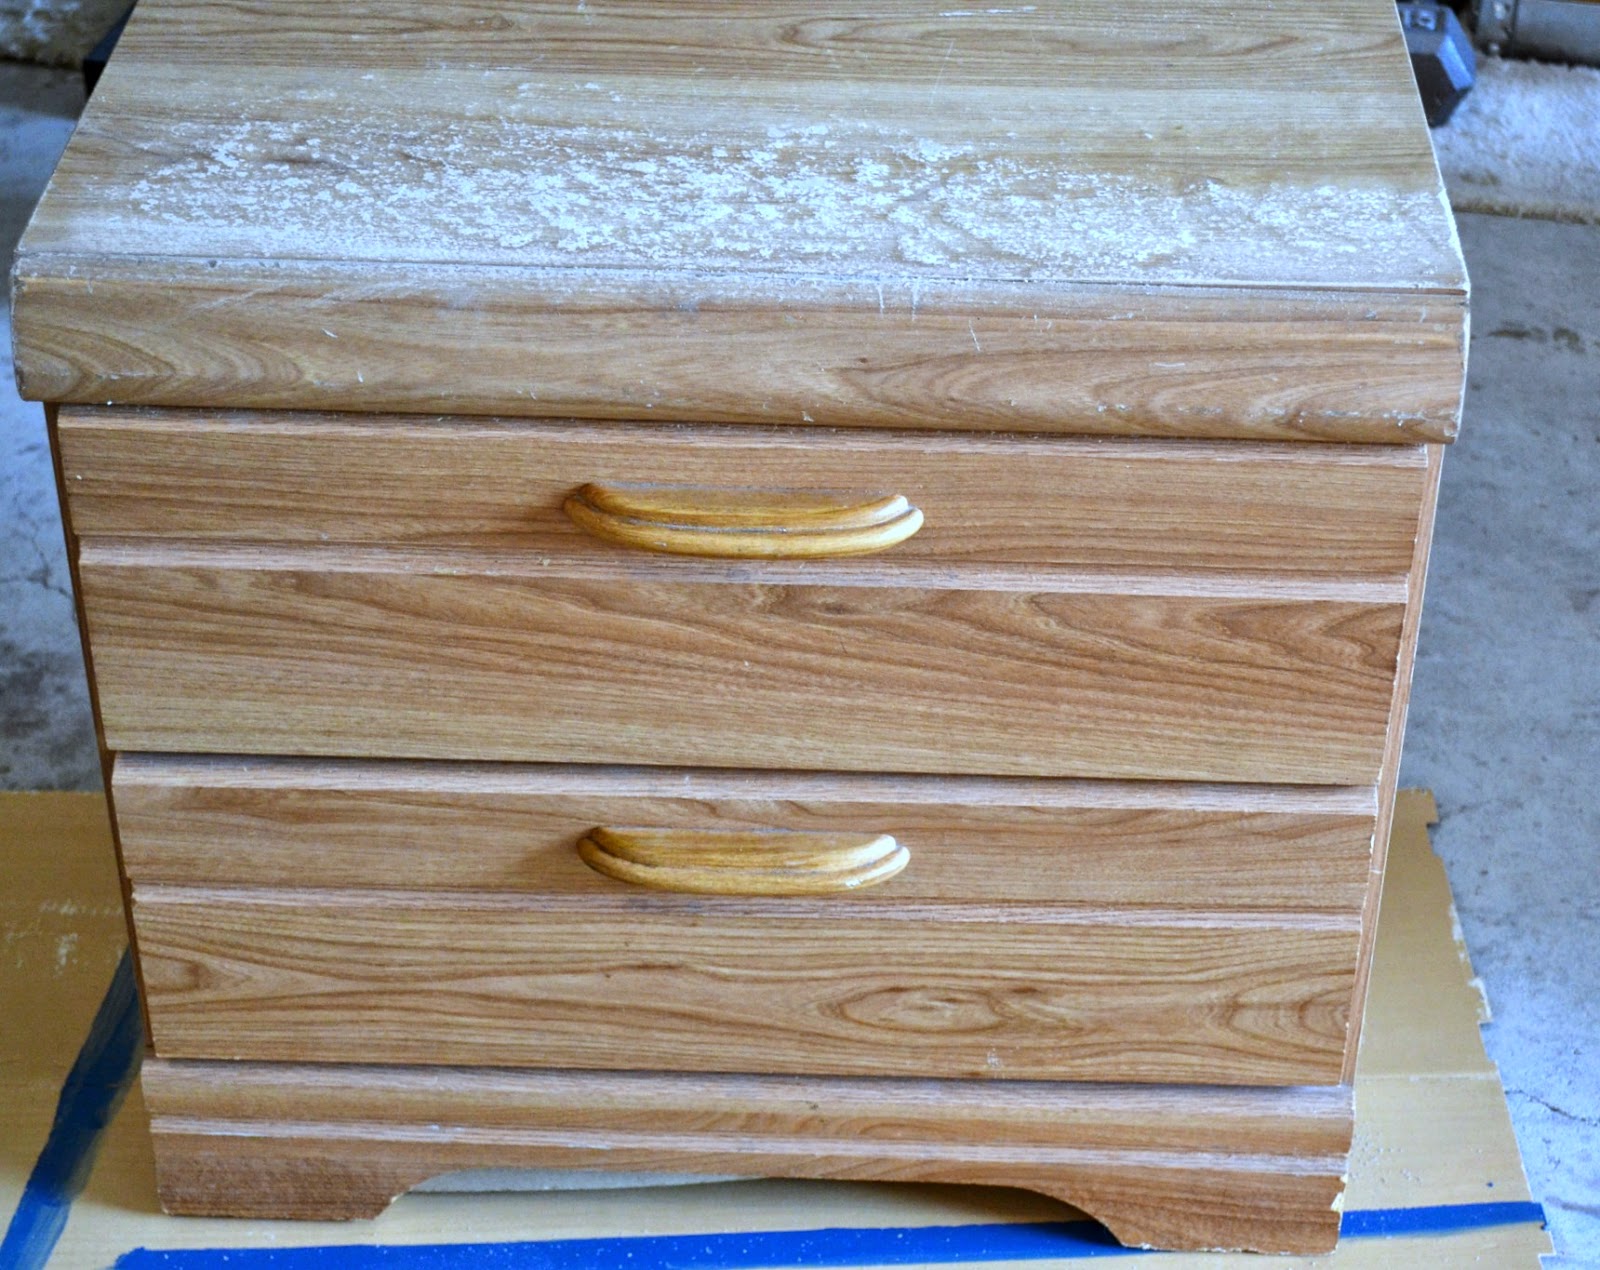
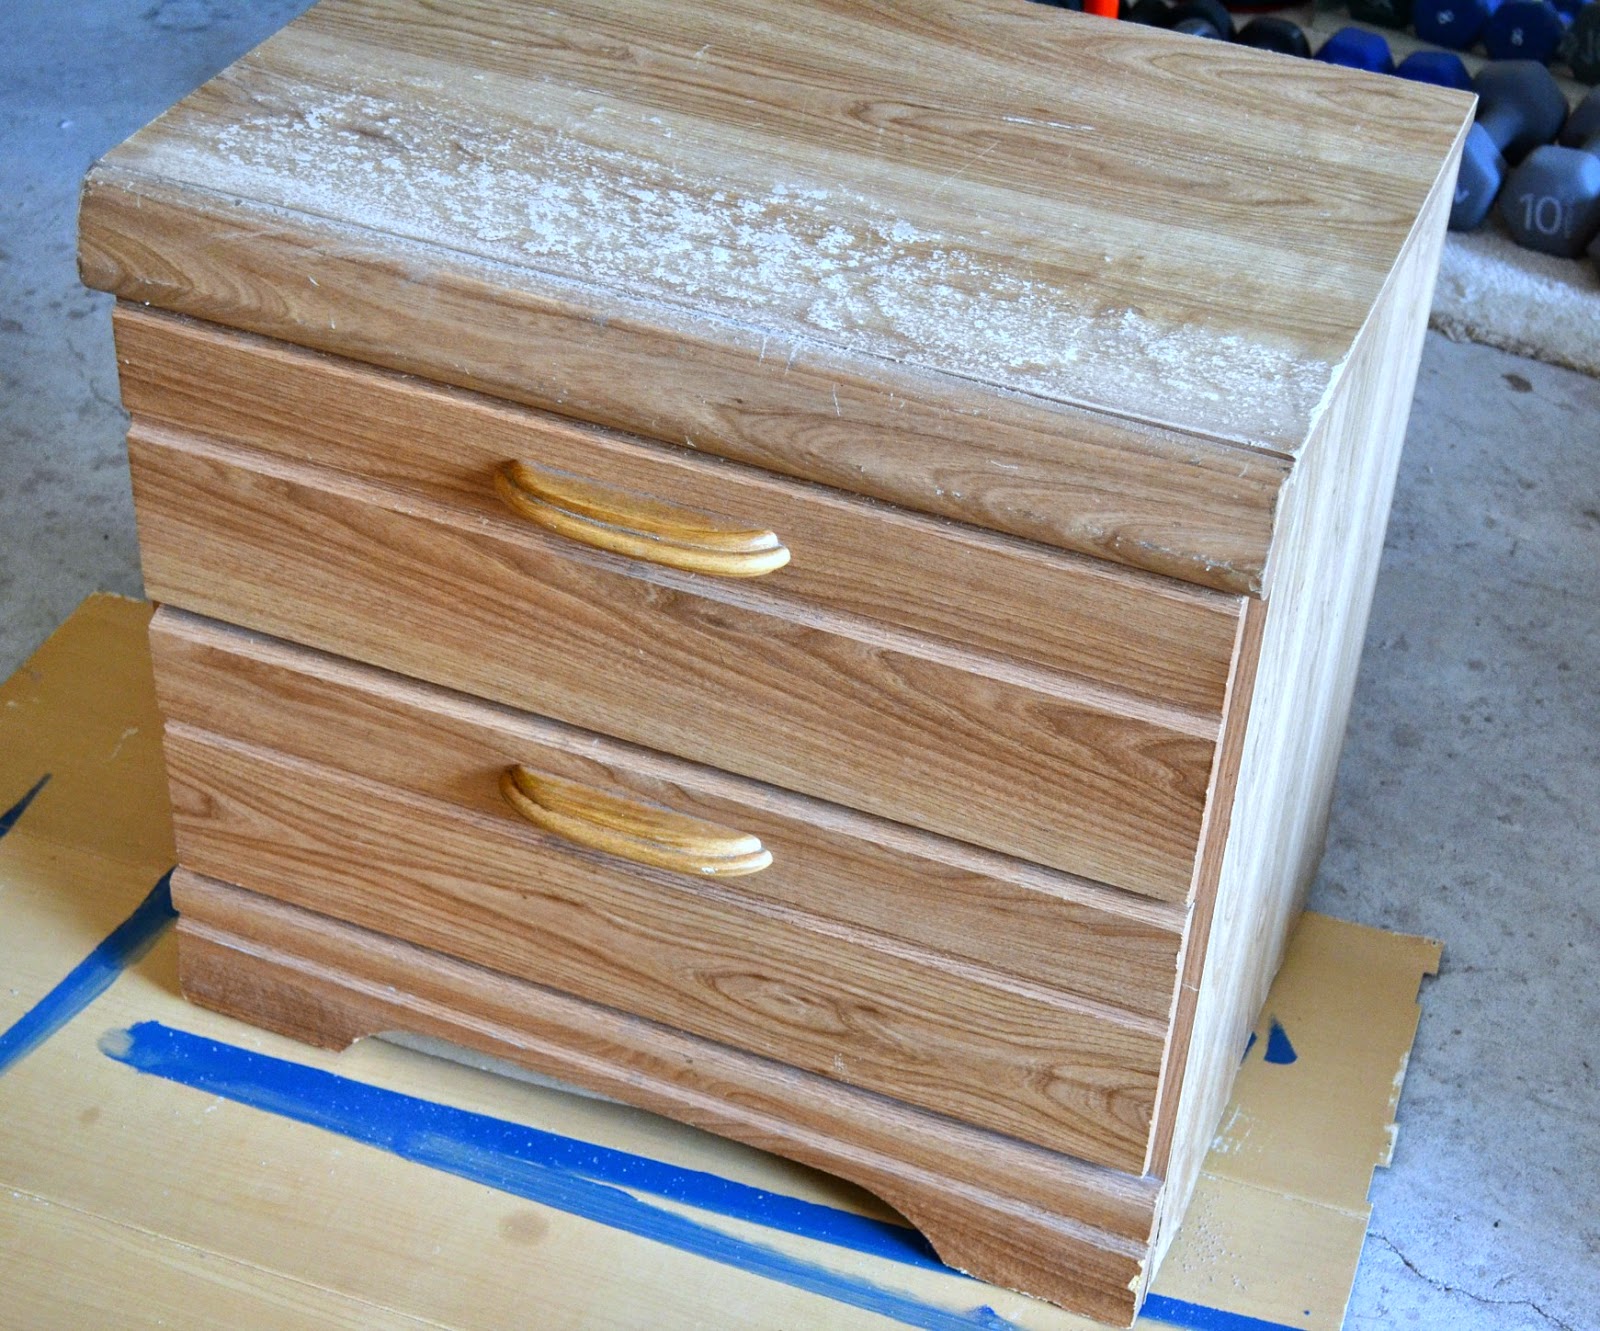
I didn't take a before picture of the dresser because I was in such a rush to start it that by the time I realized I wanted to blog about this, the drawers were already out.

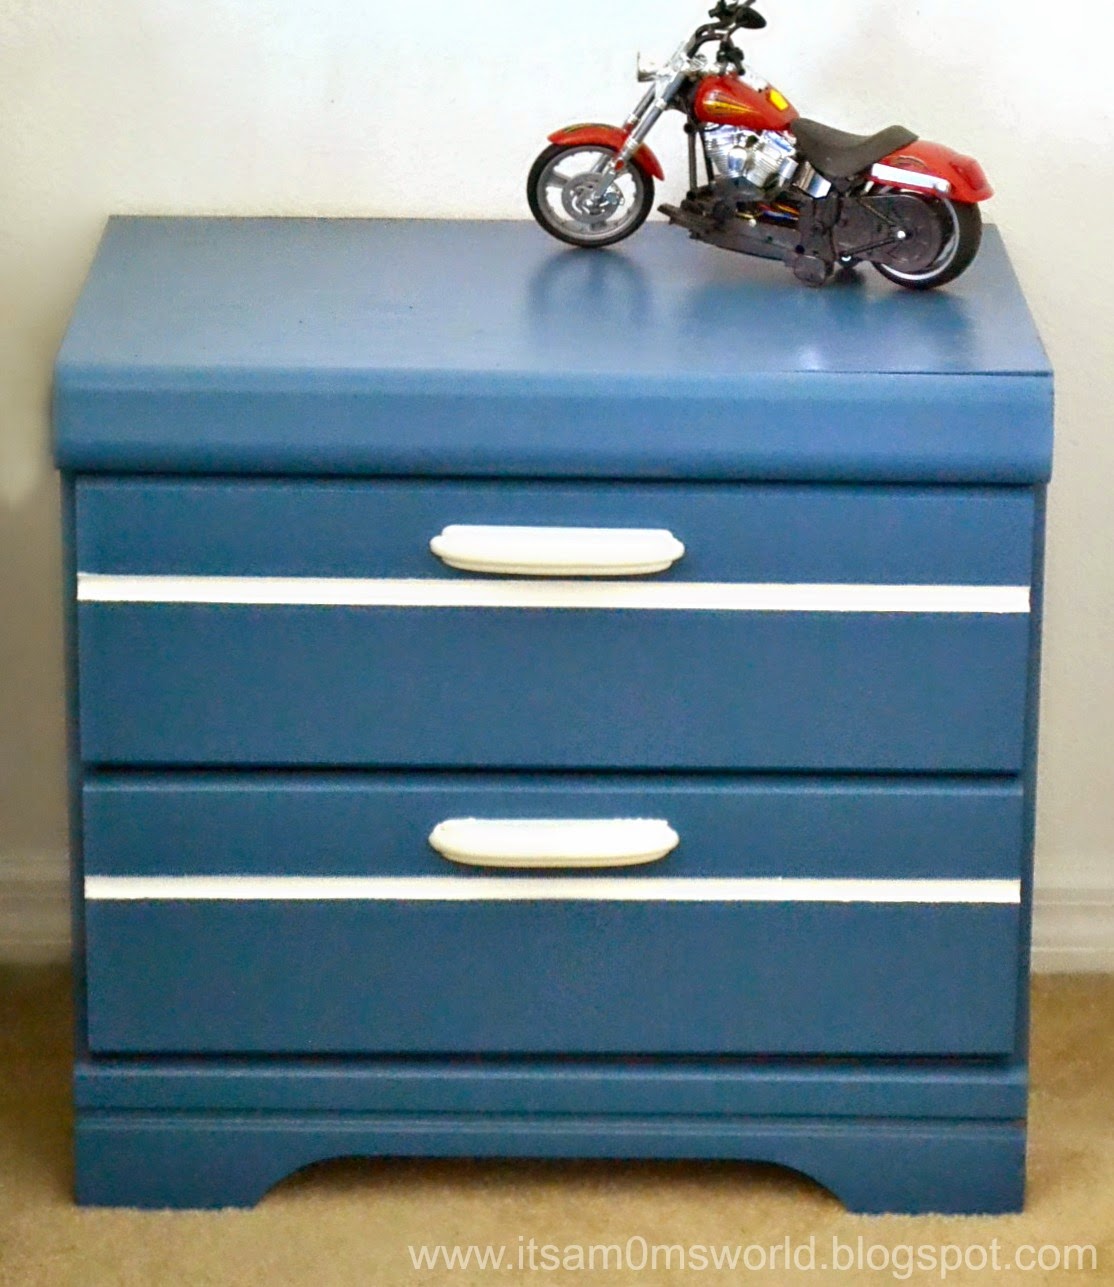
So I found picture online that is very similar to what the dresser looked like before (with the exception that the color is a little darker).

Here's sort of what it looked like before:

We took out all the drawers and removed all the hardware.


My husband measured and cut some pieces of plywood to make the "levels".

Then he cut pieces of pressure treated 1x2 pieces of wood to hold the platforms for the "playhouse".  He screwed them into the side of the dresser to hold up the pieces of wood, using 3/4 inch wood screws.  


Then, he drilled 4 inch holes, using a jigsaw, into each piece of wood to fit the pipes that we would make later on.  I won't get ahead of myself...so that will come later.


After the shelves were put in and the holes were drilled, it was time to paint.  I had a light blue paint that I was given a while back and I thought it would be perfect for this.

I gave the dresser (inside and out) two coats of paint and let it dry.


For the shelves, I painted them a metallic brown color.

Now it was time to work on the "pipes".  I knew I wanted a pipe to go from the top level to the middle and then another pipe to go from the middle level to the bottom. So we went to Home Depot and found 4 inch PVC Pipe that was the perfect size.  I came across these PVC reducers that when put into the pipe, it looked EXACTLY like a Mario pipe.  So we bought them, brought them home, measured them to size, and my husband sawed them down.


I picked up some green paint while I was there that was the perfect match.


I gave the pipes two thin coats of paint. This picture shows the first coat so you can see some letters through the paint, but once it had two coats, it was perfectly covered.


Now the hard part was here.  I had to hand paint the background onto the dresser.  Now please believe me when I say that I am in no way an artist.  I can't paint and I can't draw.  The most drawing I ever do is some doodles on my grocery list, so I knew this would be a challenge.  And it was.  I googled some "scenes" from Mario and chose different elements from each to make the scenes.  I hand drew everything with a pencil first, and painted everything in with some acrylic paint.  Did it come out perfect?  Absolutely not.

After everything was painted and done, we placed the pipes in and they were perfect!


All finished!


Does it look like a child painted it? Of course it does!  But that's what you get when you have someone who has no artistic skills paint the background.  But my kids aren't judging  They don't care it's not perfect.  They love it and that's all that mattered to me.


Now they all have a place to live!  ( Obviously all of them aren't pictured) See?  That wasn't so hard, was it?


Could possibly be the worst looking Mario star I've ever seen, but my hand isn't steady enough! Give me a break, will ya?  ;)  I think my mushroom makes up for it!


It really didn't take much time to make our envision into a reality.  The hand painting took about 4 hours, but the rest of the work took about 3 hours all together.  So in one day, it was finished.  The kids play with this everyday and they're thrilled to have a place where all their "people" can play.

Now if I can only find a place to put this thing, we'll be in good shape.

And that's it!  Finished.  Done.  Game over.  (Sorry, I couldn't help myself).


Monday, November 3, 2014

The Thankful Tree - A Thanksgiving Tradition

I'm sure you've come across this wonderful tradition all over Pinterest or anywhere on the internet really.  I came across this idea last year and instantly fell in love with it.

Typically on Thanksgiving is when everyone remembers what they're thankful for all year.  But what if we could find something to be thankful for everyday for the entire month?  What if we could start every day out with a positive mind and a grateful heart for a full 30 days?  Sounds perfect to me.  And that's exactly what this thankful tree is.  It's a fun way to get kids involved in remembering what we are so blessed to have.

The idea behind it is that each day the kids, my husband, and I fill out a leaf of what we're thankful for.  On the back of the leaf, we write our names and the date.

I keep my leaves in a photo album and every year before we hang our first leaf on the tree, we read what we were thankful for in the past year.  It's great to see not only how much their handwriting and spelling has changed from a year ago, but how funny and amazingly sweet their answers were.  My youngest was thankful for bubbles last year.  How can that not melt someone's heart?

I keep my tree right in the middle of our dining room table, which is the first room when you walk in my front door.  I encourage everyone that visits our home to hang a leaf on the tree.

The best part about this tradition is that it costs nothing.  You don't have to go out and buy anything fancy.  Everything I used, I already had on hand or printed out.  It's not about how pretty it looks.  It's not about how big it is, how sparkly it is, or how "pinterest worthy" it looks.  It's about having a grateful heart.  It's about teaching your children to always find something to be thankful for.  Not only for one day, but everyday.


Supplies You'll Need:

  • Vase or Glass Jar
  • Branches (found right in your backyard!)
  • Thankful Tree Printable Label ( courtesy of: cookefam.com )
  • Leaf Printable  (courtesy of: LiveCraftEat.com )
  • Fall Colored paper (such as construction paper or scrapbook paper)
  • Tape
  • Scissors
  • Hole Puncher

How To Make Your Thankful Tree:


-To start, search around outside your home for some sturdy branches.  


-Cut them down to size and place in your vase or jar.  ( I used rocks as a filler to keep the branches in place)

-Print out your leaf printable (or you can draw free hand) and cut out the leaf patterns.


-Punch a hole at the top of your leaves for easy hanging.  (you can also use twine or yarn).

-Print out the Thankful Tree Label, cut it out, and apply it to your vase by either tying with a ribbon or adding some double sided sticky tape.  


-You can add some ribbon, twine, glitter, or anything else to make it your own.

-With a grateful heart, get writing and hang your leaf on the tree each day.

-I keep a pen and the leaves in a little festive bowl next to the tree for easy access.


I added some leaves so you can see how cute it looks as the month goes on.  The more leaves you add, the fuller your tree gets, and at the same time....the fuller your heart gets.


What are you thankful for this year?


Sunday, November 2, 2014

How To Make Laminate Furniture Look Custom

Just because the price you pay for a piece of furniture is cheap, doesn't mean it has to look that way.  I bought this nightstand for my son's room from a local trading site for $8.  I couldn't beat that price.  But when my husband brought it home, I almost died!  I felt that for $8, I got ripped off!  It didn't even look like I should have payed that for the condition it was in.  It was bubbling on the top, it was scratched everywhere, and the laminate was peeling on the bottom.  But I had to be thankful for what I got and knowing I was going to paint it anyway, I figured I could work with it and turn it into something great.  And that's just what I did.


Before we even get into the make-over, I have to apologize.  This nightstand got it's fresh look a while back, and the pictures were taken before I purchased my camera.  Which means the pictures aren't of great quality but I tried my best! If you want to not continue reading this post, I'll completely understand.  No! Wait, don't go!  I'll change them soon, I promise! :)

Here's the before:


Pretty bad, right?  The picture the seller posted online was from a different angle.  It was taken straight on so that I didn't even see the top.  Clever, seller.  Very clever.

I had to get to work and luckily, because this piece is laminate, I didn't need to sand it. But I did take a very light sandpaper to the top to smooth out that huge rough spot.

I used Zinsser Primer and gave the nightstand a quick, thin coat with a 4 inch foam roller.

The color I chose was Behr's Southern Evening. It was a nice blue color that would fit perfectly with my son's color theme.


I didn't take step by step pictures because this was probably the easiest piece of furniture I have ever painted.  It took two coats to cover everything and including drying time, it was done within 5 hours.

To make it a little more custom, I took some white paint (Behr's Popped Corn)  and painted the "accent" stripe to give it a personal touch.  And I also painted the handles white as well.

I think the outcome of this nightstand was perfect.  My son's room has a nautical feel to it and I thought this was a great addition to his room.  

Here's the after:


Simply by slapping on a fresh coat of paint and adding some accent stripes, a pattern, or even hand painting, you can make any boring ol' laminate piece of furniture look custom and pretty.  

I can't stress to anyone enough that you can make your house a home simply by putting in some extra work where needed.  You don't have to put in extra money.  After purchasing the nightstand and the small can of paint ( I had everything else on hand )  I got a great nightstand for my son's room for $11.  It's a nice accent piece in his room and it was made just for him.  

Put your creative cap on and you're bound to come up with a great way to re-do some plain old furniture to make it look exactly how you want it.  Get to it!