Tuesday, October 13, 2015

Ice Cream Sundae Bar Printables

Ice cream is a favorite in our family.  Even though we can all eat heaps of it on a daily basis, it's pretty rare we ever have it.

This time, I wanted to make a special night for my kids by making a delicious dinner they love, watch a movie together, and create an ice cream sundae bar.  I'd say it was a complete success.

An ice cream sundae bar is one of the easiest things to create, and can guarantee that everyone will love it.  Just pick out your family's favorite toppings and everyone can enjoy their own little ice cream creation.

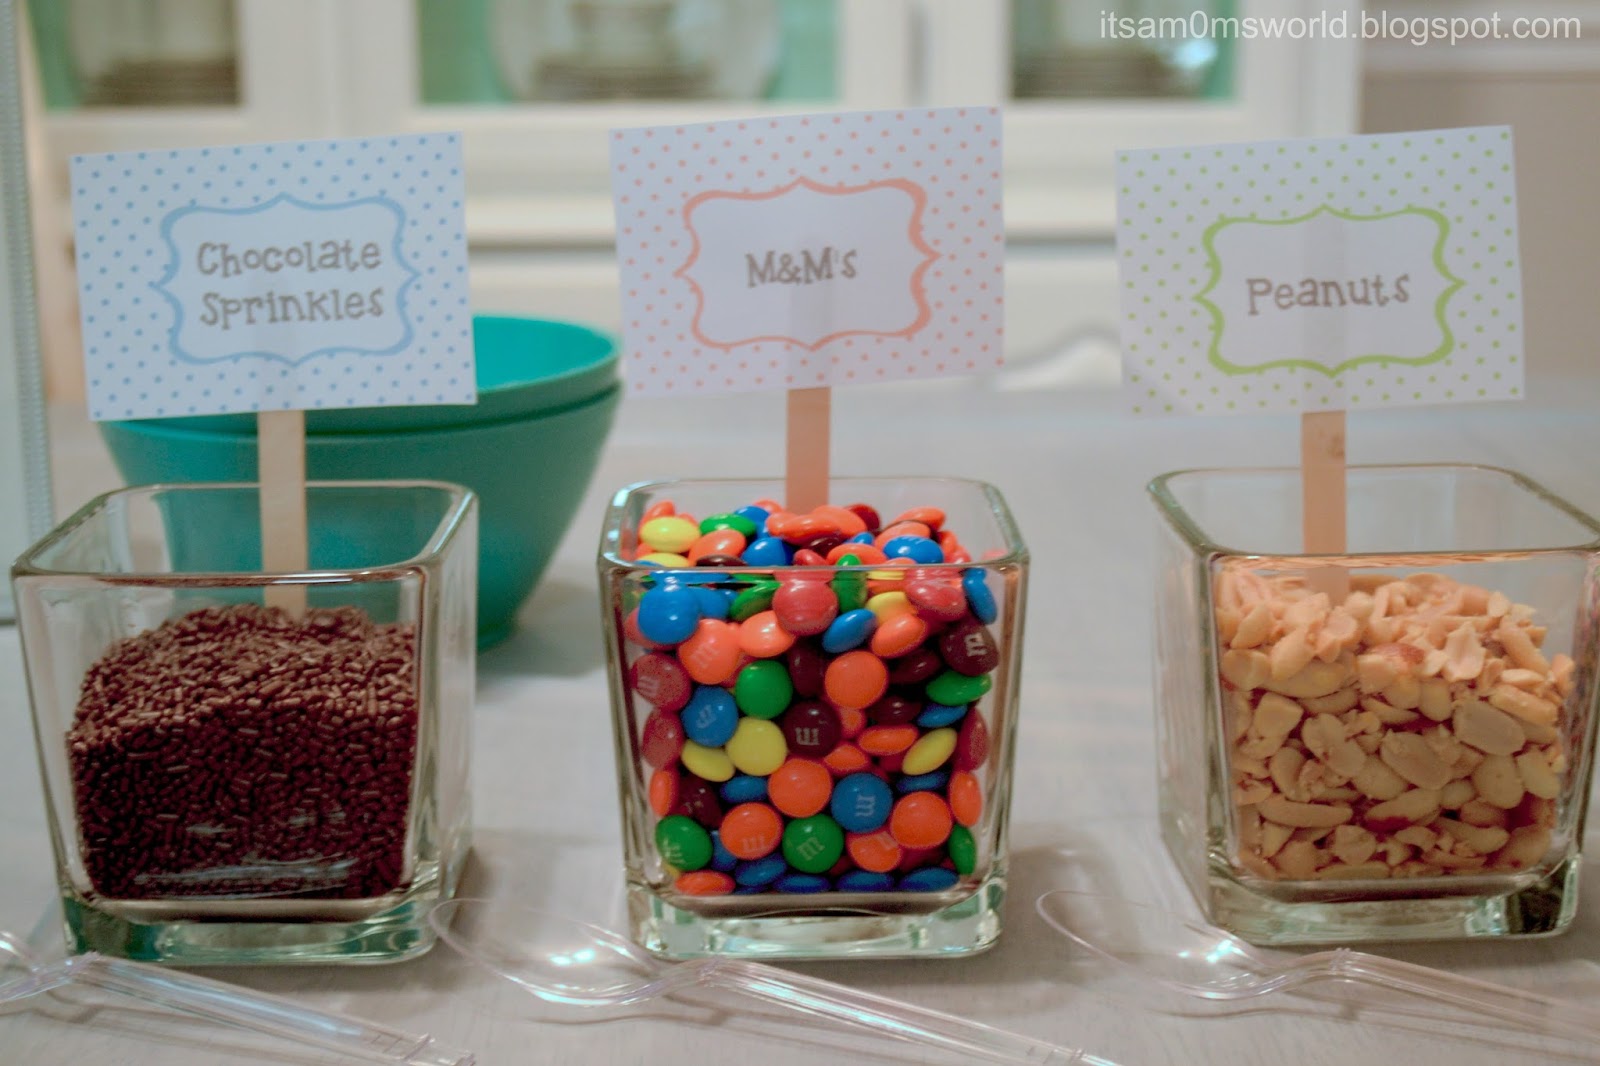
To go along with the sundae bar, I made some cute and festive labels and thought I'd share them with you.  You can download them below, cut them out, and enjoy them at your next sundae bar!


For our ice cream bar, I just picked up a few of these square glass jars from my local dollar store and used plastic spoons for "scoops".

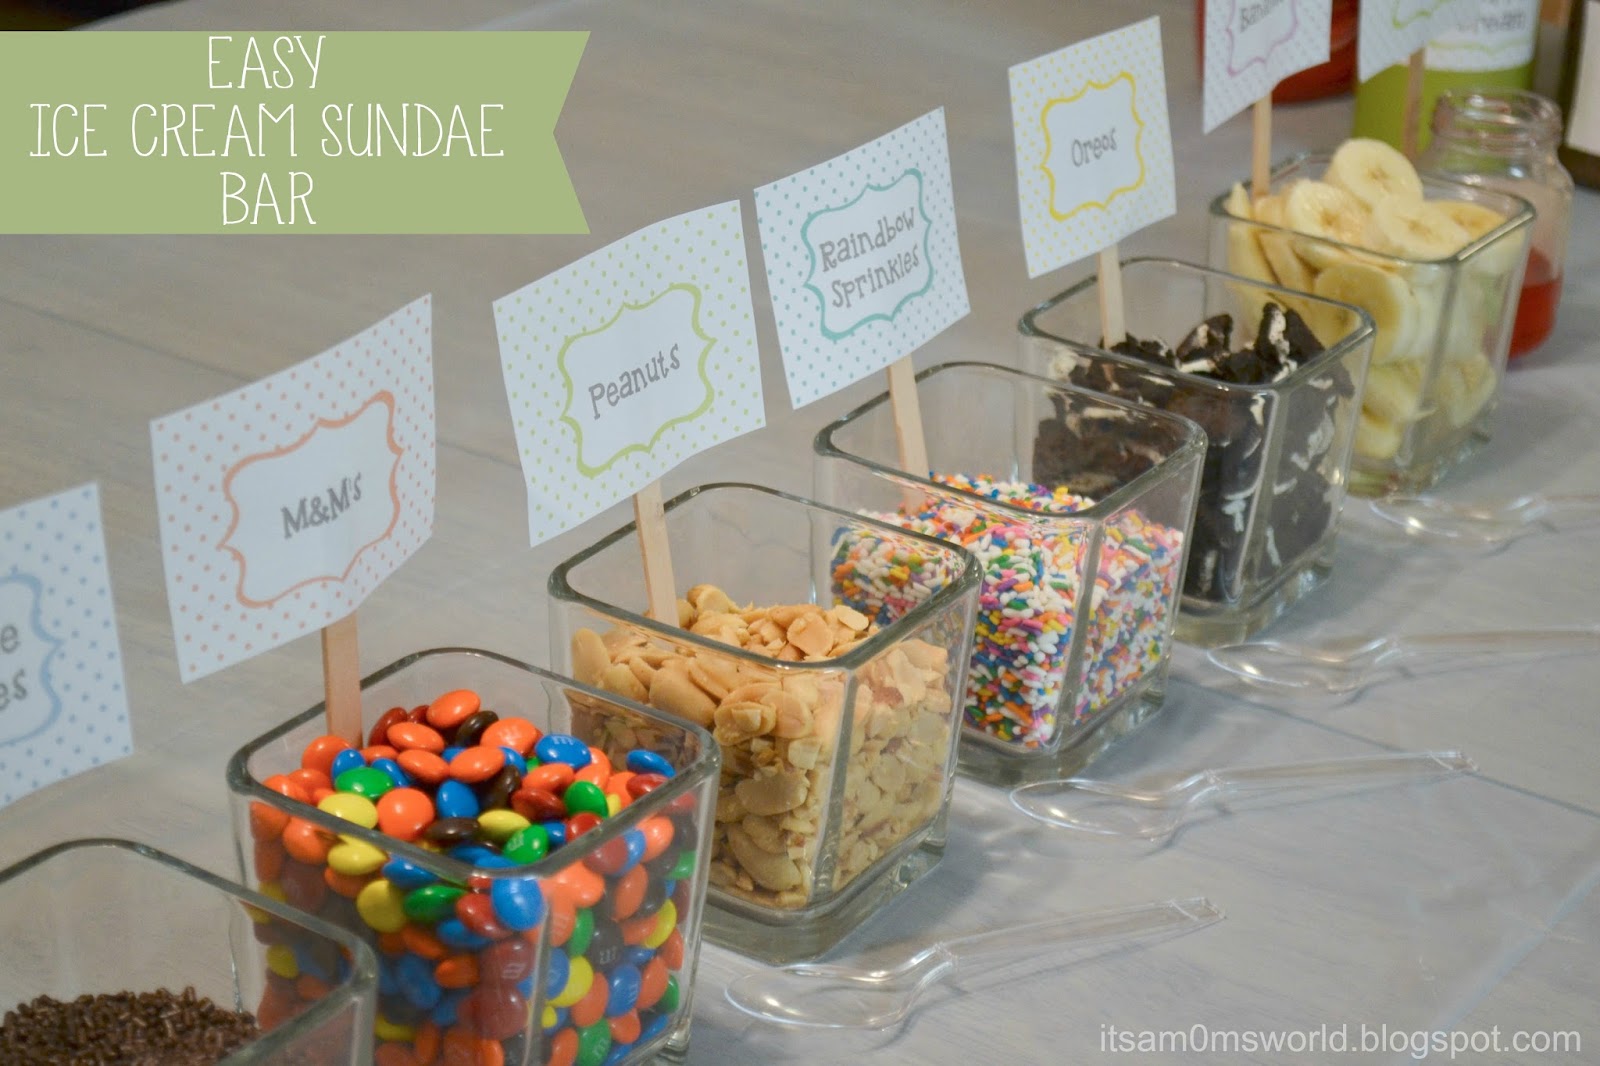
For the labels, I just simply taped a popsicle stick to the back of each label and stuck them into the toppings.  Can't get any easier than that, right?


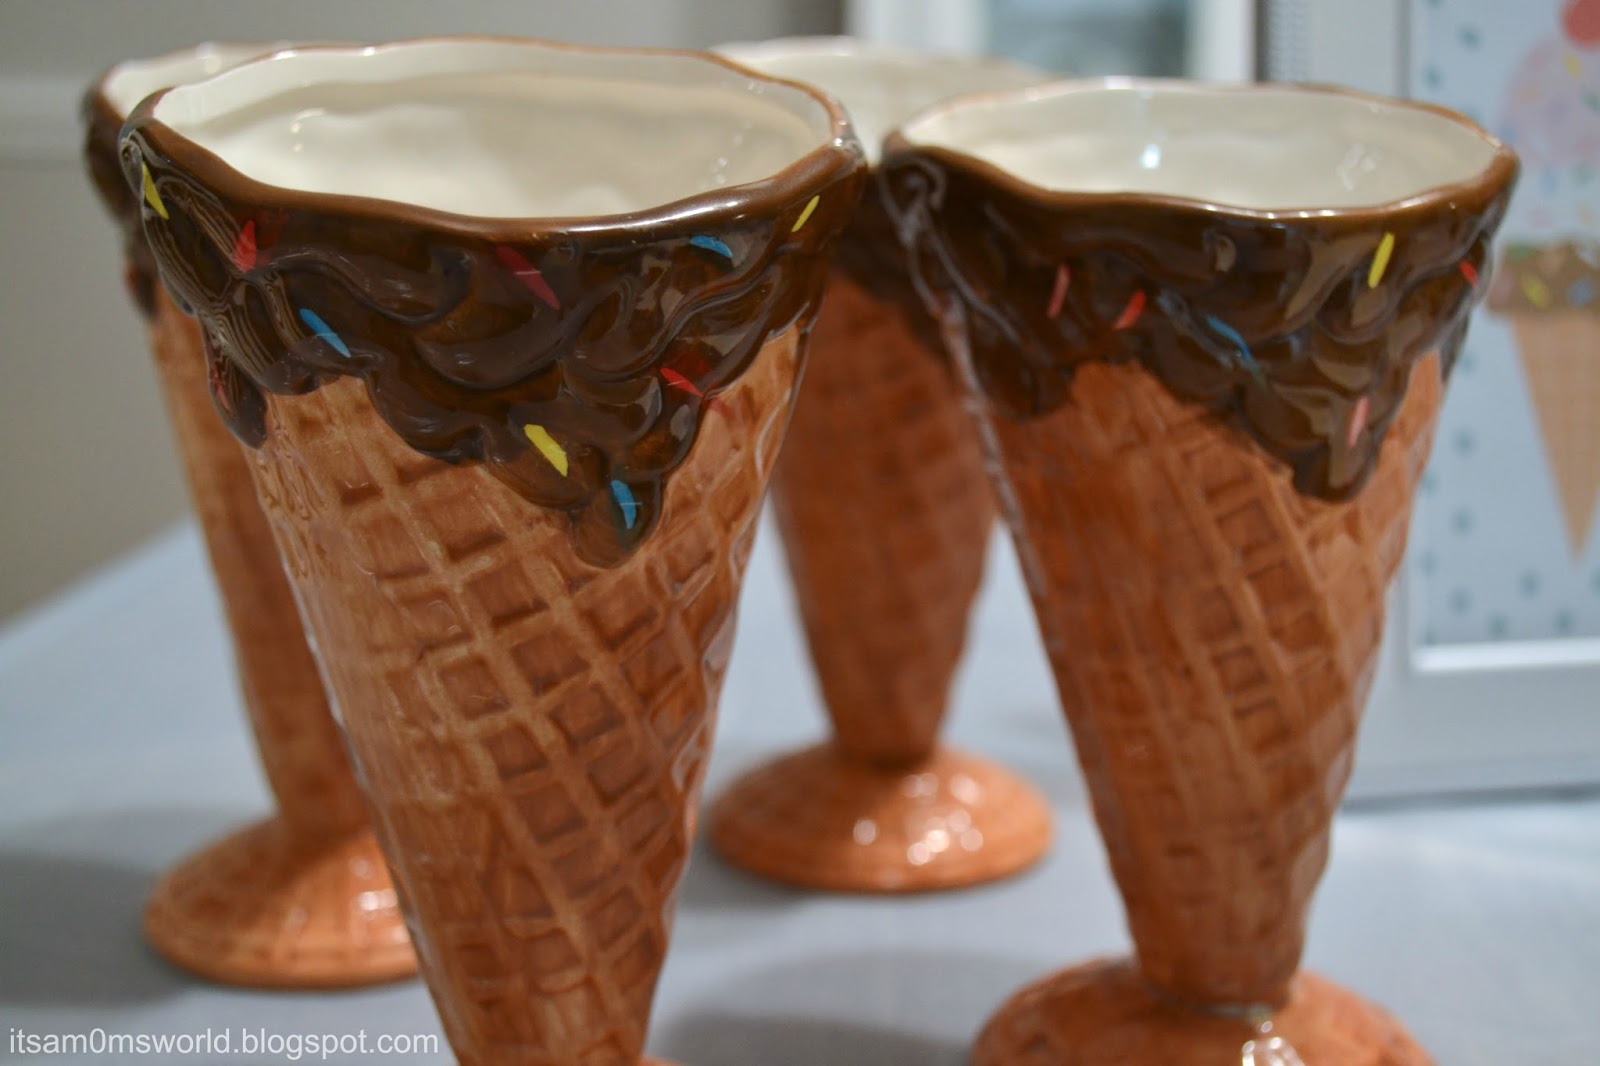
I've had these adorable ice cream sundae cups since I first got married.  And surprisingly, they've held up all these years, and with all these kids!


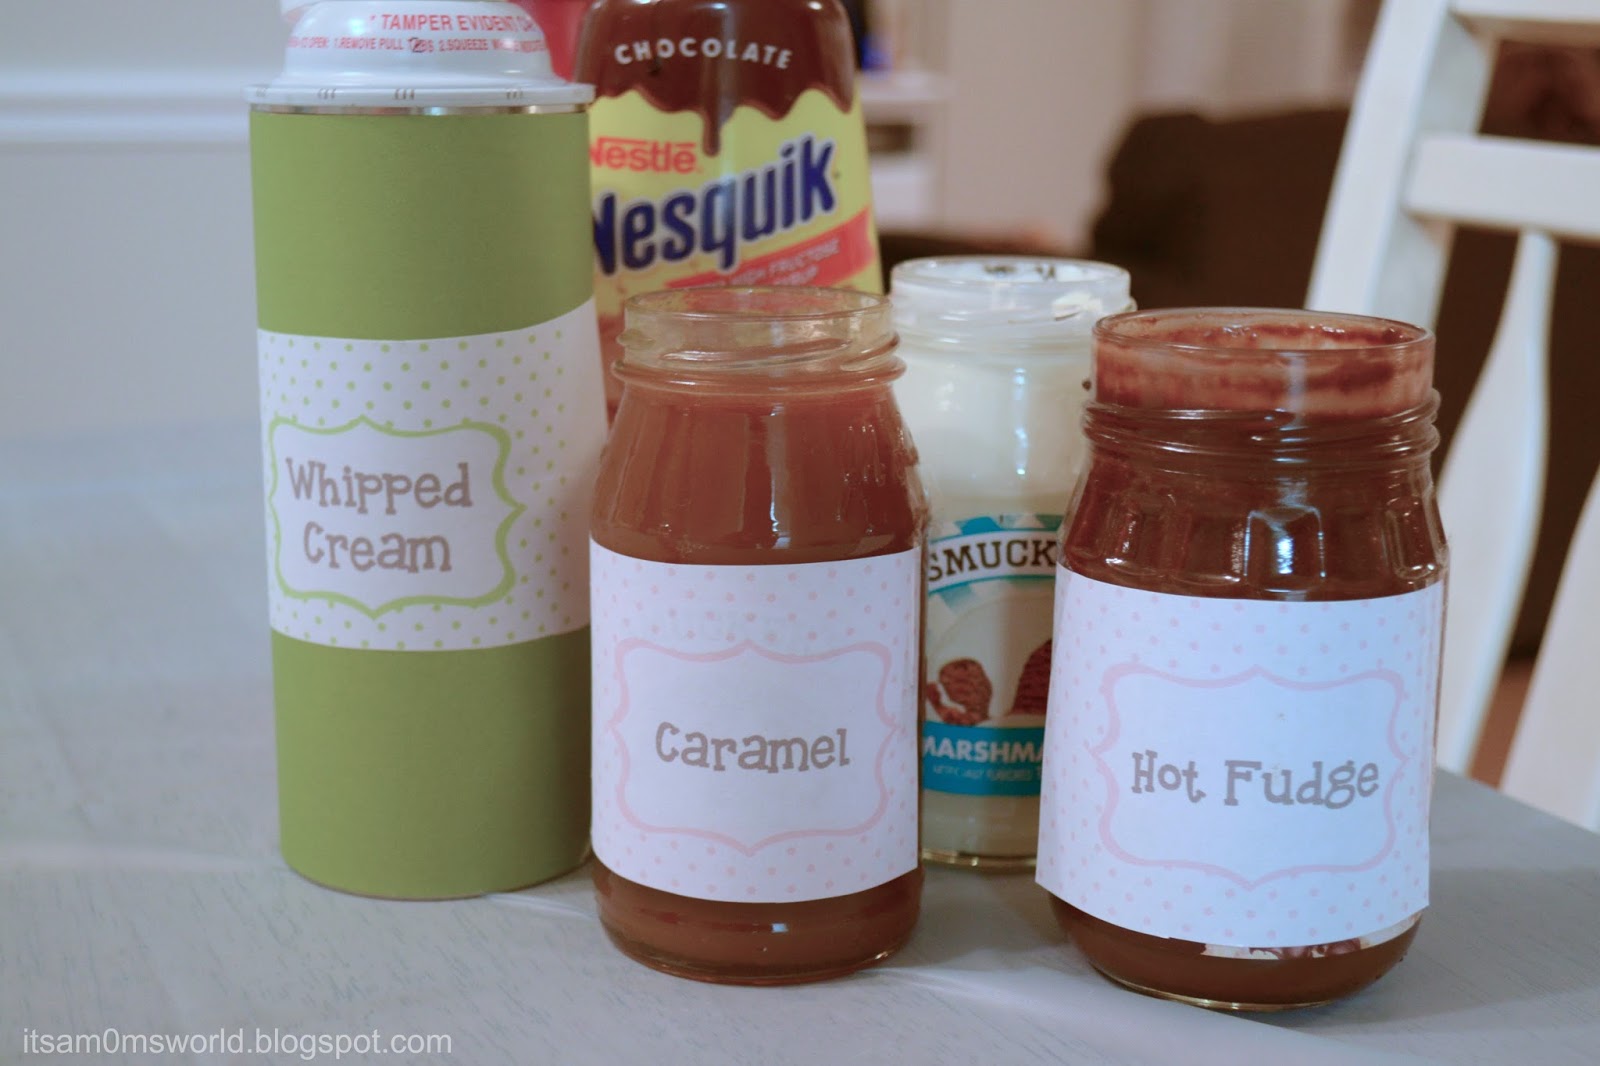
For the other toppings, I simply taped the labels onto the glass jars and wrapped the whipped cream container in scrapbook paper and placed the label on top of it.


It's such an easy and inexpensive way to bring a little joy to your kids and let them get creative with their dessert.  And getting to make your own gooey and delicious sundae for yourself doesn't hurt either.

_______________________________________________________________


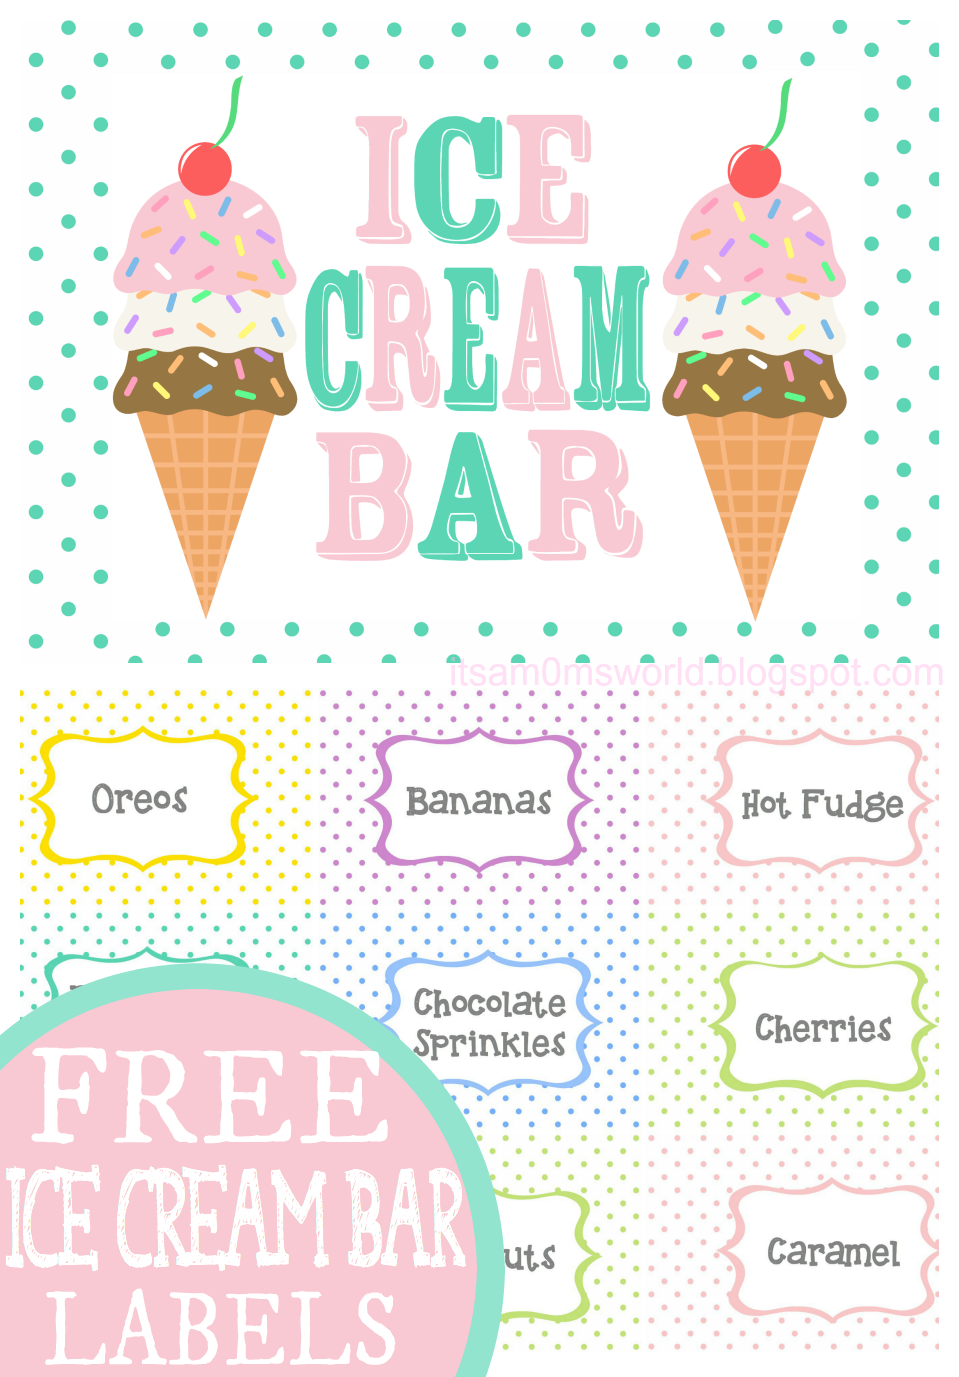
The printables include 9 popular toppings and I've also included a blank label sheet incase I missed any of your family's favorite toppings :)


You can download the labels HERE


You can download the blank labels HERE


You can download the sundae bar sign HERE


Friday, October 2, 2015

Sweet Glazed Blueberry Biscuits

With fall quickly approaching (and I say approaching even though the calendar says it's fall because I live in Florida ), I basically live in my kitchen this time of year.

There's something so cozy and comfy about having my pumpkin scented candles lit, my house dressed up with fall decor, and the smell of something yummy baking in the oven.

I think the colder months, in my house, tend to bring on food that's a little more heavy.  Which in turn, makes me a little heavier as well! :)

These blueberry biscuits are a perfect way to transition from summer to fall, in my opinion.

Breakfast for dinner happens once a week in my house and this a new favorite "side" to an already delicious meal!


Sweet Glazed Blueberry Biscuit Recipe:

For Biscuits:

2 cups all-purpose flour
1 Tbsp. baking powder
3 Tbsp. sugar
1 1/2 tsp. salt
1 stick COLD unsalted butter
3/4 cup buttermilk (can use regular milk)
1 cup frozen blueberries ( can also use fresh blueberries that have been frozen overnight)
1/2 stick melted salted butter (for brushing on the top)

For Glaze:

1 cup powdered sugar
3 Tbsp. milk ( more if you need it thinner )
1/2 tsp. vanilla

Directions:

Preheat oven to 500 degrees.

Stir the glaze ingredients together ( powdered sugar, milk, and vanilla ) and make sure the sugar is completely dissolved.  Set aside.

Combine all dry biscuit ingredients (flour, baking powder, sugar, and salt) and cut in cold unsalted butter. Cut in the butter until the pieces are pea sized and pretty well mixed in.  Add in buttermilk. Stir until well combined and the dough separates from the side of the bowl.  Place the dough on a well floured surface.

Sprinkle a little extra flour over the dough and begin kneading for about 2 minutes.  Press the dough out ( you don't have to roll it) and flatten it to about 1/2" thickness.  Place blueberries over the dough.  Knead a few times and flatten the dough back out to about 1" thickness.  *note: the berries will start defrosting slightly as this point so you will see specks of blue in your dough*

Using a biscuit cutter, or a round glass, cut out biscuits.  Place them in a prepared cast iron skillet.  If you don't have one, an oven safe deep round skillet or pan that has been greased will work too.  Make sure the biscuits are touching.

Bake at 500 degrees for 10-12 minutes.  Half way through the baking time, take the biscuits out and brush the top of them with all the melted salted butter.  If any sides are showing, brush them with the butter as well.

Your biscuits are done when the tops are slightly brown and some of the berries burst.

If you need to leave them in slightly longer, make sure to watch them because they burn easily.

When you take the biscuits out of the oven, let them cool in the pan for 10 minutes.  After the ten minutes, pour your glaze over the biscuits. You can use as much or little as you'd like, depending on your taste.

Serve immediately.

Enjoy!